
For many homeowners, the journey into home renovation is a progression of skill-building. You start with painting, graduate to simple trim work, and eventually find yourself tackling structural overhauls like siding, plumbing, or electrical work. Yet, even seasoned DIYers often find themselves intimidated by one specific craft: tiling.
When it comes to bathroom flooring, 1-inch hexagon mosaic tiles are a timeless choice, often evoking the charm of late 19th-century architecture. However, as one couple recently discovered while renovating their own home, choosing this classic aesthetic for a first-time tiling project is an ambitious undertaking that tests both technical precision and emotional fortitude. This report breaks down the realities of installing hexagon tile, the common pitfalls beginners face, and the professional-grade strategies required to achieve a high-end finish.

Main Facts: The Challenge of Mosaic Geometry
The primary challenge with 1-inch hexagon tiles lies in their geometry. Unlike large-format square tiles, which offer forgiving margins and straightforward alignment, hexagon mosaics—typically sold on 12-inch by 24-inch mesh sheets—require a heightened level of accuracy. Because the sheets are flexible and the shapes complex, even a minor misalignment in the first few rows can compound into a significant, visible error by the time you reach the opposite wall.
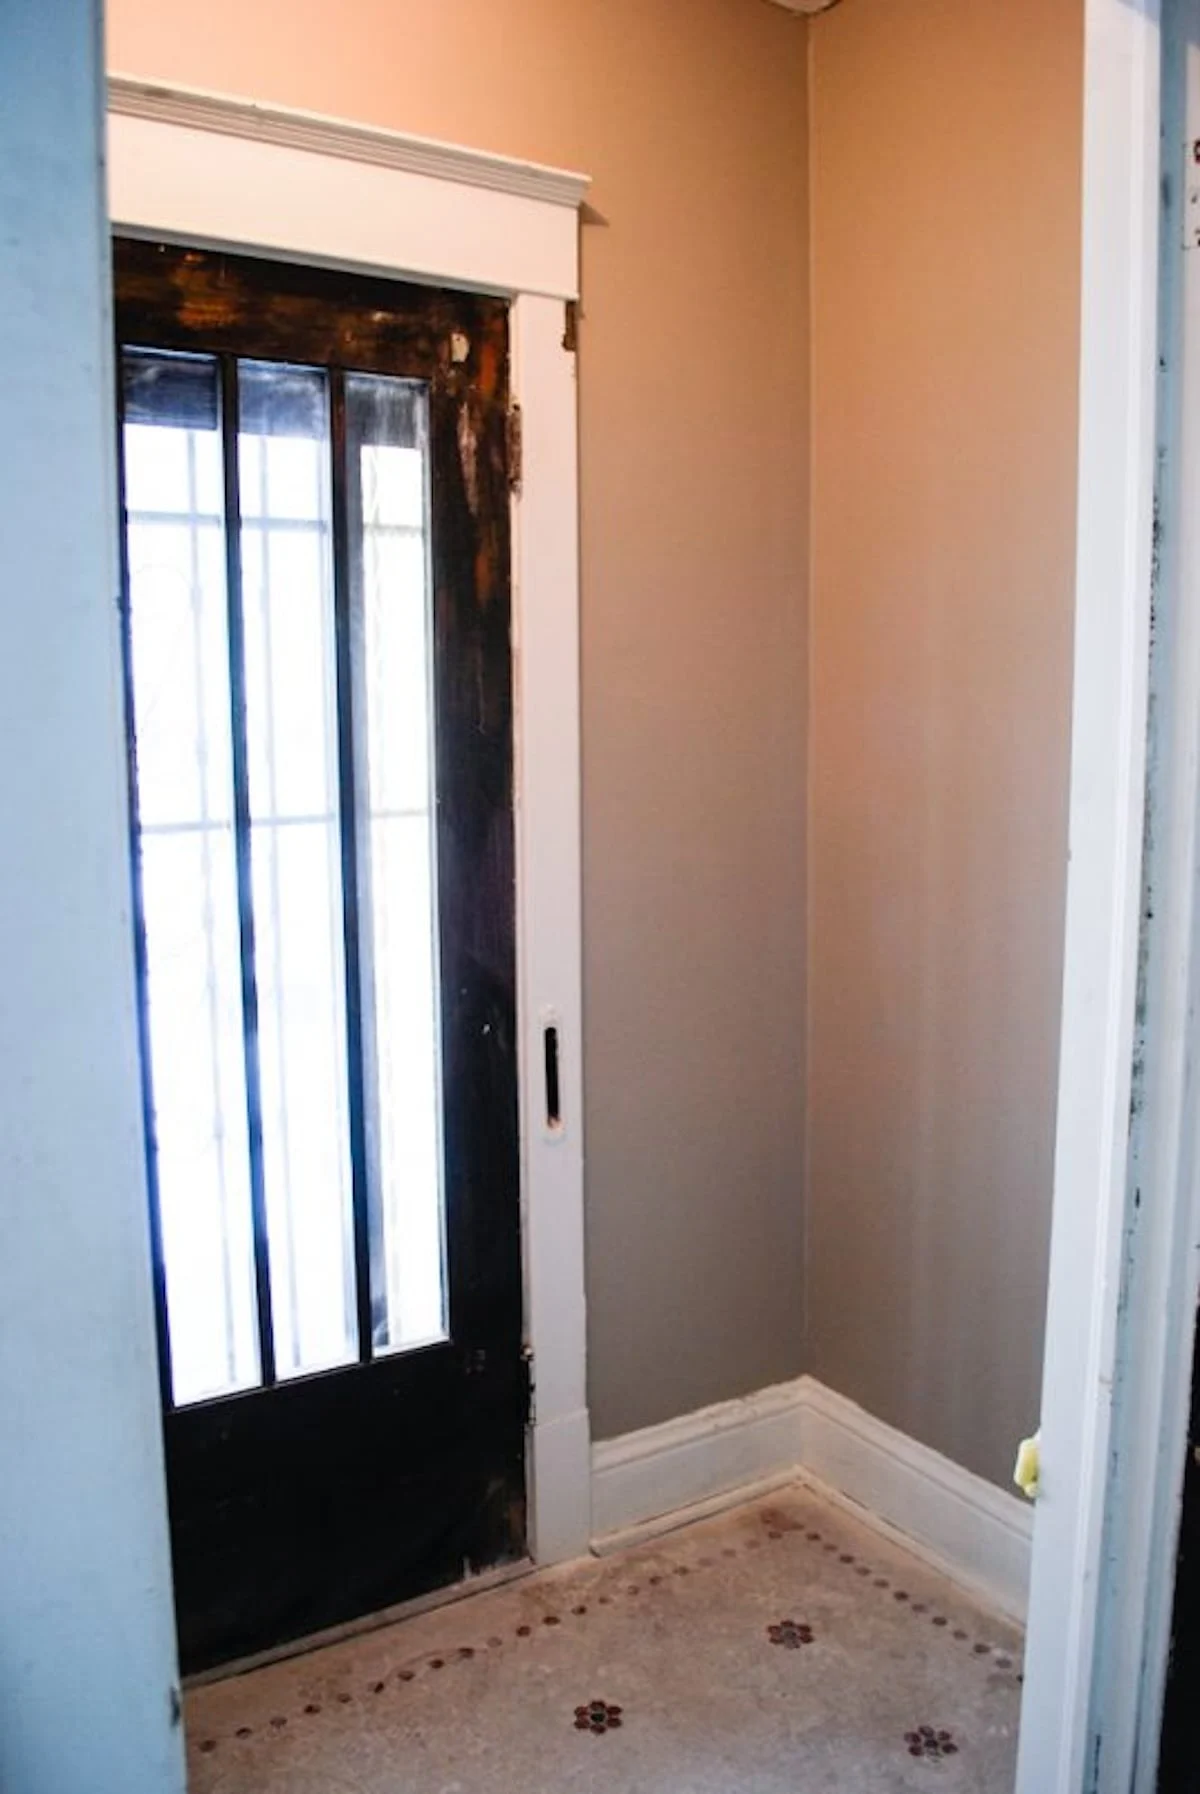
In older homes, where walls are rarely square or plumb, this challenge is amplified. The "perfect" layout on paper often clashes with the reality of an aging subfloor or uneven wall framing. The key to success is not just physical labor, but rigorous preparation, which includes dry-fitting the material and acknowledging that in historic renovations, “perfect” alignment is often an impossible goal—but a professional-looking finish is entirely achievable.

Chronology: A Step-by-Step Installation Process
For those looking to replicate a vintage-inspired bathroom floor, the process is best approached in distinct, sequential phases.
1. Subfloor Preparation and Dry-Fitting
Before a single drop of mortar is spread, the foundation must be sound. The installation of a cement board over the subfloor provides the necessary rigid base for ceramic tile. The initial step is the dry-fit. Laying out the sheets across the room allows you to identify where cuts are needed, particularly along the edges of the tub and walls. During this phase, it is vital to keep a record of your layout.

2. Squaring the Room
In an older house, relying on the walls as a guide is a recipe for disaster. Professional installers use a square to draw a true perpendicular line across the floor, which acts as the master guide for the entire grid. By aligning the first rows to this line rather than the wall, you ensure that the pattern remains consistent, even if the gap at the edge of the room varies slightly (which will later be covered by baseboards).
3. Precision Spacing
While many mosaic sheets come pre-spaced, the joints between sheets are the most common failure point. Beginners often assume they can "eye-ball" the distance between sheets, but this inevitably leads to crooked lines. Using 1/8-inch spacers—or, in a pinch, turning a standard square tile on its side to act as a gauge—is mandatory. This allows for slight adjustments, ensuring that any minor variance in an individual tile is absorbed by the surrounding grout lines, rendering the error invisible to the naked eye.

4. Customizing the Pattern
One of the advantages of mosaic sheets is the ability to customize. To add period-authentic details, such as a "daisy" pattern created with black tiles against a white background, one must perform manual surgery on the mesh sheets. By measuring carefully and cutting out specific tiles from the base sheets, homeowners can insert contrasting colors to create bespoke decorative motifs.
5. Adhesion and Grouting
Once the dry-fit is complete, the sheets should be numbered (using painter’s tape) to ensure they are replaced in the exact same orientation. After the mortar is applied with an appropriate trowel—typically 3/16-inch for this type of tile—the sheets are laid. After the mortar has cured for 24 hours, the final stage is grouting. For small 1/8-inch gaps, a non-sanded grout is generally recommended to provide a smooth, clean finish.

Supporting Data: Managing Materials and Sealing
The technical success of a floor installation often hinges on the materials chosen. Unglazed ceramic tiles, for instance, are porous. If not sealed prior to grouting, the dark pigment of the grout can seep into the surface of the tile, causing permanent staining.
"Pre-sealing" is the process of applying a penetrating sealer to the tiles before the grout is applied. This creates a barrier that allows for the easy removal of grout residue during the final cleanup. Once the floor is fully grouted and cured, a final, high-quality sealer application should be applied to protect the grout lines from moisture and dirt, ensuring the longevity of the installation.

Implications for the Homeowner
The "real-world" implication of this project is a lesson in project management. A bathroom renovation is not a single task, but a series of interconnected challenges. The emotional strain—often referred to as the "DIY meltdown"—is a documented phenomenon when a project fails to align with the initial vision of perfection.
However, the payoff is substantial. By moving slowly, borrowing the right tools (such as a wet saw for complex edge cuts), and refusing to compromise on the fundamental steps of spacing and squaring, a beginner can achieve results that rival professional craftsmanship. The most significant takeaway for any DIYer is to embrace the "hidden" nature of certain imperfections. Gaps against the walls will be covered by trim; minor variations in tile height are smoothed over by grout. Focus on the center of the room, and the periphery will naturally follow.
Professional Perspectives and Final Thoughts
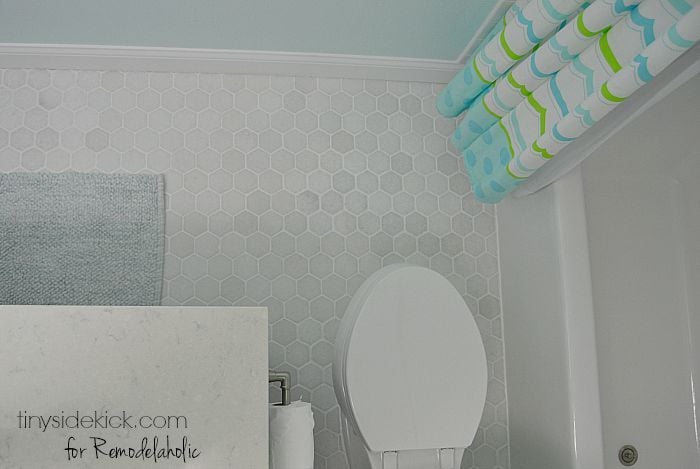
Experts in the field of home renovation emphasize that the "wow factor" of a room often comes from the details. Hexagon tiles, while historically difficult to install, provide a texture and visual interest that modern, large-format tiles simply cannot match.
The primary recommendation from those who have successfully navigated this process is to "sweat the small stuff" during the preparation phase so that the installation phase becomes a matter of assembly rather than a struggle for positioning.

As the project concludes, the final step—cleaning the grout haze—is perhaps the most tedious. It requires multiple passes with a barely-damp sponge and a dry cloth. It is a process that requires patience, but it is the difference between a floor that looks like it was installed by an amateur and one that looks like an original feature of a historic home.
In conclusion, while hexagon tile may be considered an "advanced" beginner project, it is not beyond the reach of the dedicated homeowner. By prioritizing planning over speed, and understanding the chemistry of mortar and sealer, the average DIYer can transform a mundane bathroom into a centerpiece of the home. The project serves as a reminder that the best results in home improvement are rarely found in the ease of the work, but in the persistence required to finish it.