
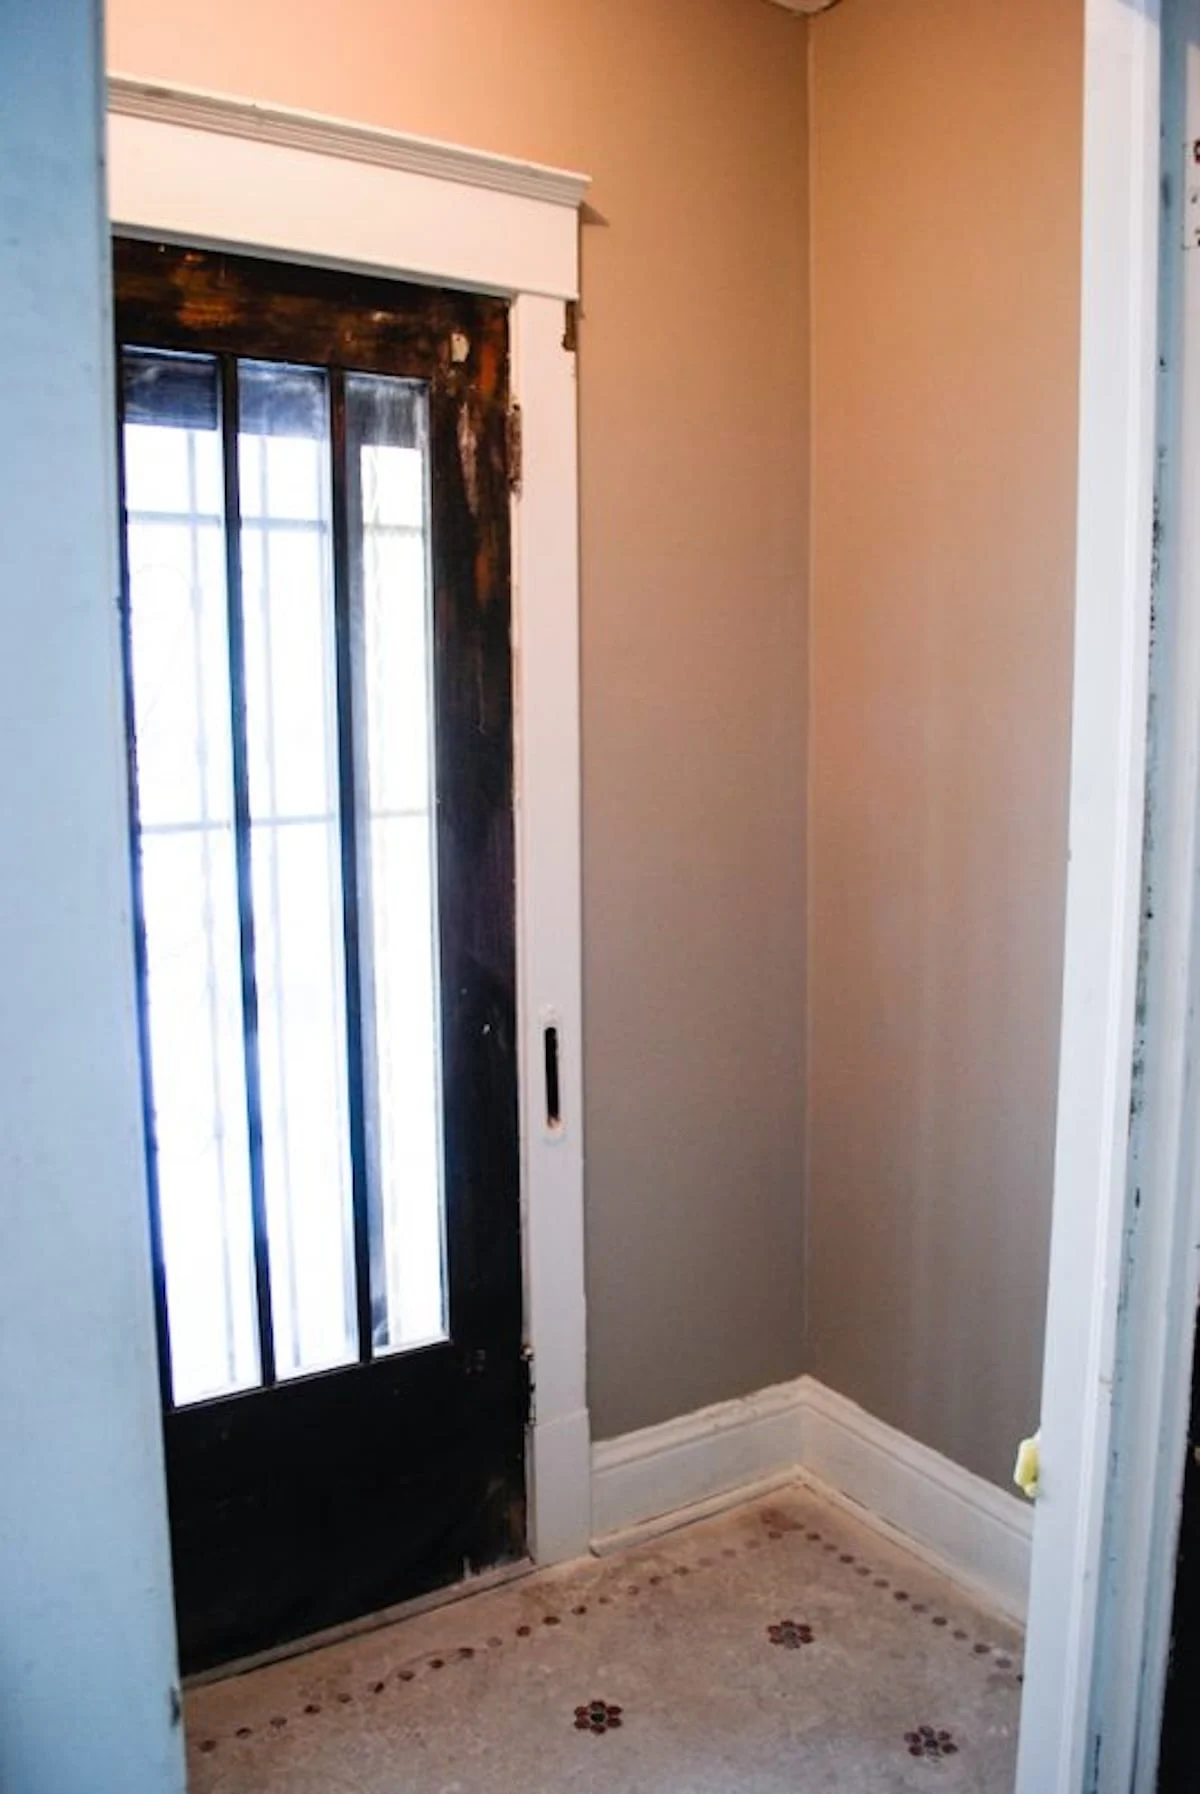
For many homeowners, the allure of the classic, vintage-inspired bathroom often begins and ends with the timeless aesthetic of one-inch hexagon tiles. Reminiscent of late 19th-century architecture, this geometric pattern offers a sense of history and sophistication that larger format tiles struggle to replicate. However, for the uninitiated DIY enthusiast, transitioning from admiring these floors to actually installing them can be a daunting—and occasionally humbling—experience.
What follows is an in-depth examination of the process, challenges, and technical nuances of installing hexagon mosaic tile. Drawing on the firsthand accounts of those who have navigated the "beginner’s curve," this guide serves as both a cautionary tale and a practical roadmap for anyone looking to bring this classic look into their own home.

The Main Facts: Why Hexagon Tile Matters
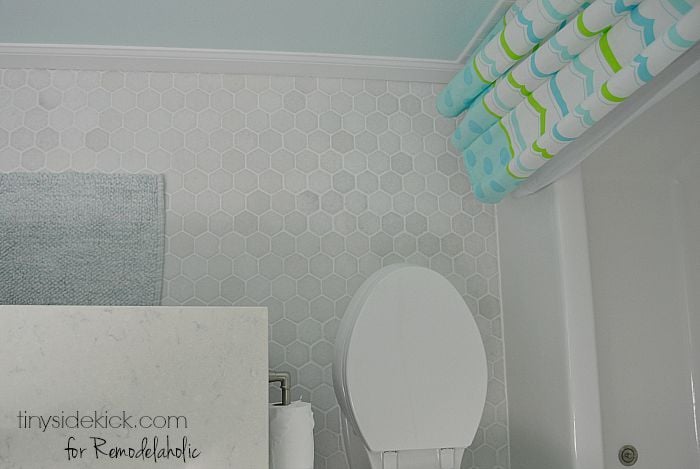
Hexagon tiles—typically sold in mesh-backed sheets—are a popular choice for bathroom flooring because of their durability and their ability to conform to small or irregularly shaped spaces. Because they are often unglazed, they offer excellent traction, making them a practical choice for moisture-prone environments like bathrooms.
The primary appeal lies in their versatility. By swapping individual white tiles for black ones, installers can create custom patterns—such as the "daisy" motif common in period-style homes. However, the very nature of these small, interlocking shapes creates a unique set of challenges regarding alignment, spacing, and the "squareness" of a room.

Chronology: A Step-by-Step Installation Narrative
Installing hexagon tile is not merely a matter of spreading mortar and setting sheets; it is a methodical process that requires significant preparation, especially in older homes where perfectly square corners are a rarity.
1. The Planning and Dry-Fit Phase
The process begins with the installation of a cement board subfloor, which provides a stable, moisture-resistant base. Once the subfloor is prepped, the most critical phase is the dry-fit. Laying out the 2ft x 1ft sheets without mortar allows the installer to identify where cuts will be necessary. In an older house with walls that are not perfectly square, this stage can take hours. If a wall is bowed or off-center, the tiles will not align flush, necessitating precise cuts along the perimeter.

2. Squaring the Room
Because walls are rarely parallel, relying on the walls as a guide is a common mistake. Professionals recommend using a T-square to draw a perpendicular layout line from the most prominent wall. This line serves as the anchor for the first row of tiles. By working off this guide, the installer can ensure the pattern remains consistent across the room, even if the perimeter tiles eventually require trimming to accommodate irregular walls.
3. Mastering Spacing and Geometry
One of the most frequent pitfalls for beginners is "eye-balling" the spacing. With hexagon tiles, inconsistent gaps between sheets become glaringly obvious once the grout is applied.

- The Spacer Hack: If dedicated hexagon spacers are unavailable, standard square spacers turned on their sides can be utilized.
- The Shift Factor: Using spacers allows for micro-adjustments. While one tile might be slightly out of alignment, the grid-like nature of the mesh sheets allows the installer to "fudge" the fit across the floor, making minor errors imperceptible to the naked eye.
4. The Customization Process: Creating "Daisies"
For those seeking a custom design, the "daisy" pattern is achieved by manually replacing individual white tiles with black ones. This requires careful measurement from the center of the room outward. Once the layout is confirmed, the white tiles are removed, the black tiles are substituted, and the entire sheet is set into the thinset mortar.
5. Securing and Setting
Once the layout is finalized, each sheet should be labeled (using painter’s tape) in the order of installation. After removing the sheets, the subfloor must be cleaned of all debris. The thinset is then applied using the appropriate trowel size—usually a 3/16-inch trowel for mosaic sheets. The sheets are pressed into the mortar, ensuring that no excess mortar "oozes" up between the tiles, as this can interfere with the final grout lines.

6. Finishing: Grouting and Sealing
After a 24-hour curing period, the floor is ready for grouting. Because the spacing is typically tight (1/8 inch), a non-sanded grout is usually recommended. The process is repetitive: apply with a float, wait for the set, and wipe away the excess. Patience is the primary virtue here, as multiple cleaning passes are required to remove the haze of grout residue. Finally, if the tiles are unglazed, a high-quality sealer must be applied to protect the ceramic from staining and moisture absorption.
Supporting Data: Technical Considerations
The success of a tile project is heavily dependent on the materials chosen. Understanding the relationship between the tile type and the mortar/grout is essential.

- Unglazed vs. Glazed: Unglazed tiles are porous and require pre-sealing before grouting to prevent the grout from staining the ceramic surface. Glazed tiles, conversely, are factory-sealed and do not require this step.
- Trowel Selection: The choice of a 3/16-inch V-notch trowel is standard for mosaic sheets. Using a trowel that is too large can lead to excess mortar "oozing" through the mesh, while a trowel that is too small will result in poor adhesion.
- The Importance of Perimeter Trim: Because it is nearly impossible to achieve a perfect fit against irregular walls, baseboards and shoe molding play a vital role. They serve to hide the small gaps and cut lines at the edges of the room, providing a clean, professional finish.
Official Perspectives and Expert Advice
Industry professionals often emphasize that the "hidden" work—the preparation of the subfloor and the accuracy of the layout lines—is more important than the actual laying of the tile.
"The definition of insanity," as many contractors note, is continuing to try and force a sheet of tile to fit a non-square corner without first establishing a proper guide line. For the DIYer, the transition from "novice" to "competent" usually happens when they stop relying on their eyes and start relying on a T-square and proper spacing tools.
Implications for the Homeowner
While the project is labor-intensive, the implications of a successful installation are significant. Beyond the aesthetic "wow factor," a properly installed tiled floor adds long-term value to a home and provides a durable, water-resistant surface that can last for decades.
However, homeowners should approach this project with a realistic timeline. The process is not a "weekend warrior" task if done correctly. It requires a significant time investment in dry-fitting, labeling, and cleaning. The emotional toll of a complex tiling project can be high—the "melt-down" mentioned by many novices is a genuine risk—but the result is a custom, high-end look that is difficult to replicate with mass-produced flooring options.

Final Takeaways for Success
- Never skip the dry-fit. Even if it takes eight hours, knowing exactly how the tiles hit the walls will save days of frustration.
- Use a guide line. Do not trust the walls of an old house.
- Manage the mortar. Oozing thinset is the enemy of clean grout lines.
- Embrace the process. The time spent cleaning grout haze is the final hurdle to achieving a professional finish.
In conclusion, the installation of hexagon tile is an exercise in patience and precision. While the geometry of the tiles may seem complex, the principles of installation are rooted in basic math and careful planning. By respecting the process—from the initial square-up to the final seal—any dedicated homeowner can transform a bathroom into a space that is both historically charming and structurally sound. Whether you are a seasoned renovator or a first-timer, the secret to success remains the same: measure twice, lay once, and never underestimate the power of a good spacer.