
In the world of residential interior design, the difference between a "cookie-cutter" house and a custom-tailored home often lies in the details. While major renovations—such as kitchen cabinetry overhauls, stairwell makeovers, or structural expansions—dominate the headlines of home improvement blogs, smaller, high-impact projects are what truly define a home’s personality. Among these, the addition of decorative window mullions, or "grids," has emerged as a premier method for homeowners to bridge the gap between builder-grade simplicity and custom architectural elegance.
This article explores a transformative DIY project spearheaded by Jill of The Rozy Home, who successfully retrofitted her dining room windows with custom-made mullions. By opting for a budget-friendly, non-permanent solution, she managed to unify the aesthetic of her entire home for a fraction of the cost of replacing windows.

Main Facts: The "Grid" Aesthetic
The architectural term "mullion" refers to the vertical or horizontal bar that divides the panes of glass in a window. Historically, these were structural necessities required to hold multiple small panes of glass together. In modern construction, "mullion grids" (or muntins) are often decorative, serving to evoke a sense of tradition, warmth, and character.
Many mass-produced homes feature a disjointed look: the front-facing windows may include grids for "curb appeal," while the side and rear windows remain large, unobstructed, and somewhat sterile. This inconsistency can make a space feel unfinished.
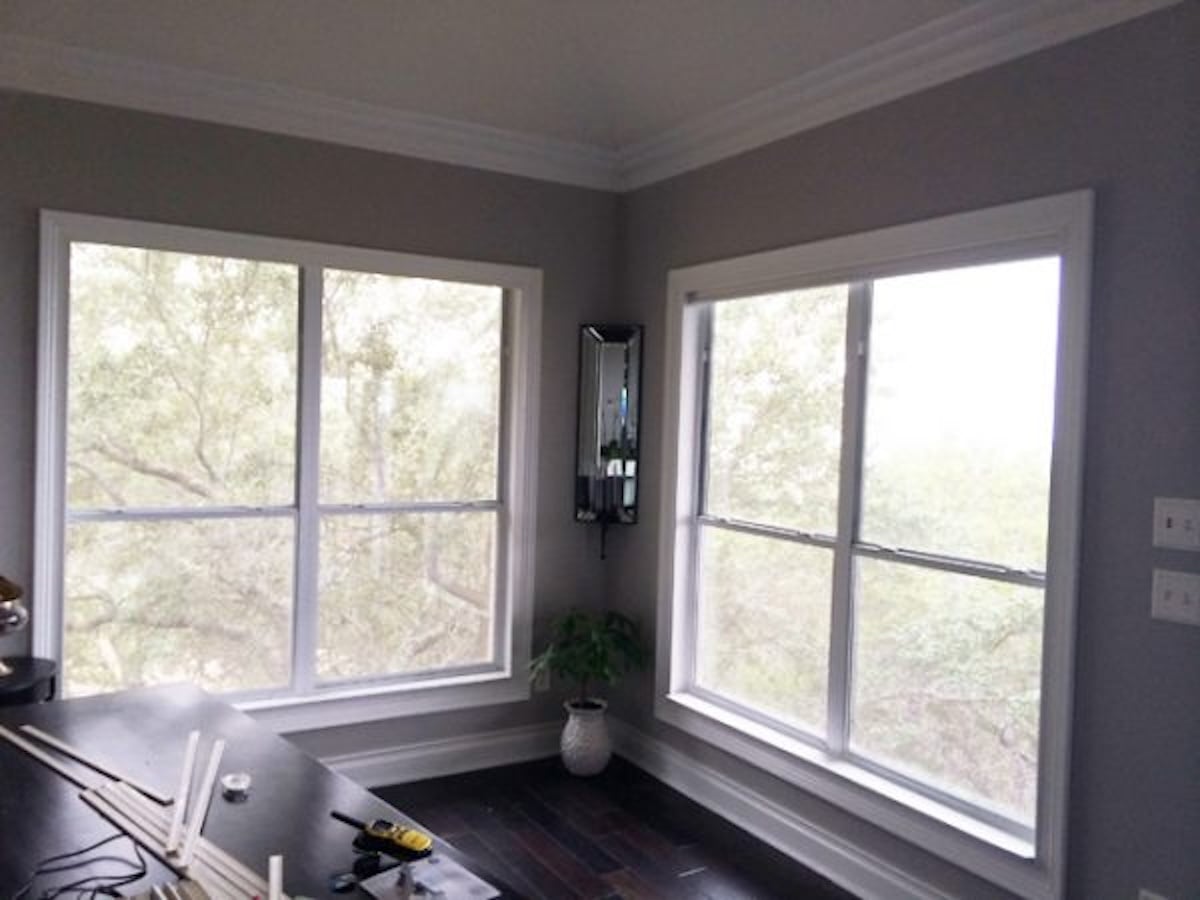
Jill’s project addressed this by:
- Creating Uniformity: Matching the grid style of the front-facing windows to the rest of the house.
- Cost-Effectiveness: Completing the entire project for roughly $35, translating to approximately $9 per window.
- Non-Invasive Installation: Using mounting solutions that do not damage the existing window frame or require professional intervention.
Chronology of the Project
The journey to the finished look was one of careful observation, iterative planning, and meticulous execution.

Phase 1: Observation and Conceptualization
Jill spent years transforming her residence into a "forever home." After completing complex projects like custom range hoods and arched window trims, she turned her attention to two large, plain dining room windows. She noted that while the view was spectacular during the day, the windows felt "boring" and disconnected from the rest of the home’s design language. Realizing that the builder had omitted grids on the rear of the house—likely to cut costs—she decided to rectify the imbalance.
Phase 2: Material Sourcing
Finding the right material was critical. Traditional window manufacturer grids are often aluminum strips sandwiched between double-pane glass, which is not an option for retrofitting. Jill needed a lightweight, paintable, and thin material. She experimented with various trims at Home Depot before settling on polystyrene vinyl screen moulding. She later refined this choice to a thinner pine screen moulding, which offered the necessary clearance to prevent friction when the windows were opened.

Phase 3: Measurement and Fabrication
Precision was paramount. Jill determined the placement of two vertical stiles and three horizontal stiles to mimic the existing grids in her home. After measuring the internal dimensions of the glass, she fabricated the pieces, spray-painting them in the garage to ensure a professional, uniform finish.
Phase 4: Assembly and Installation
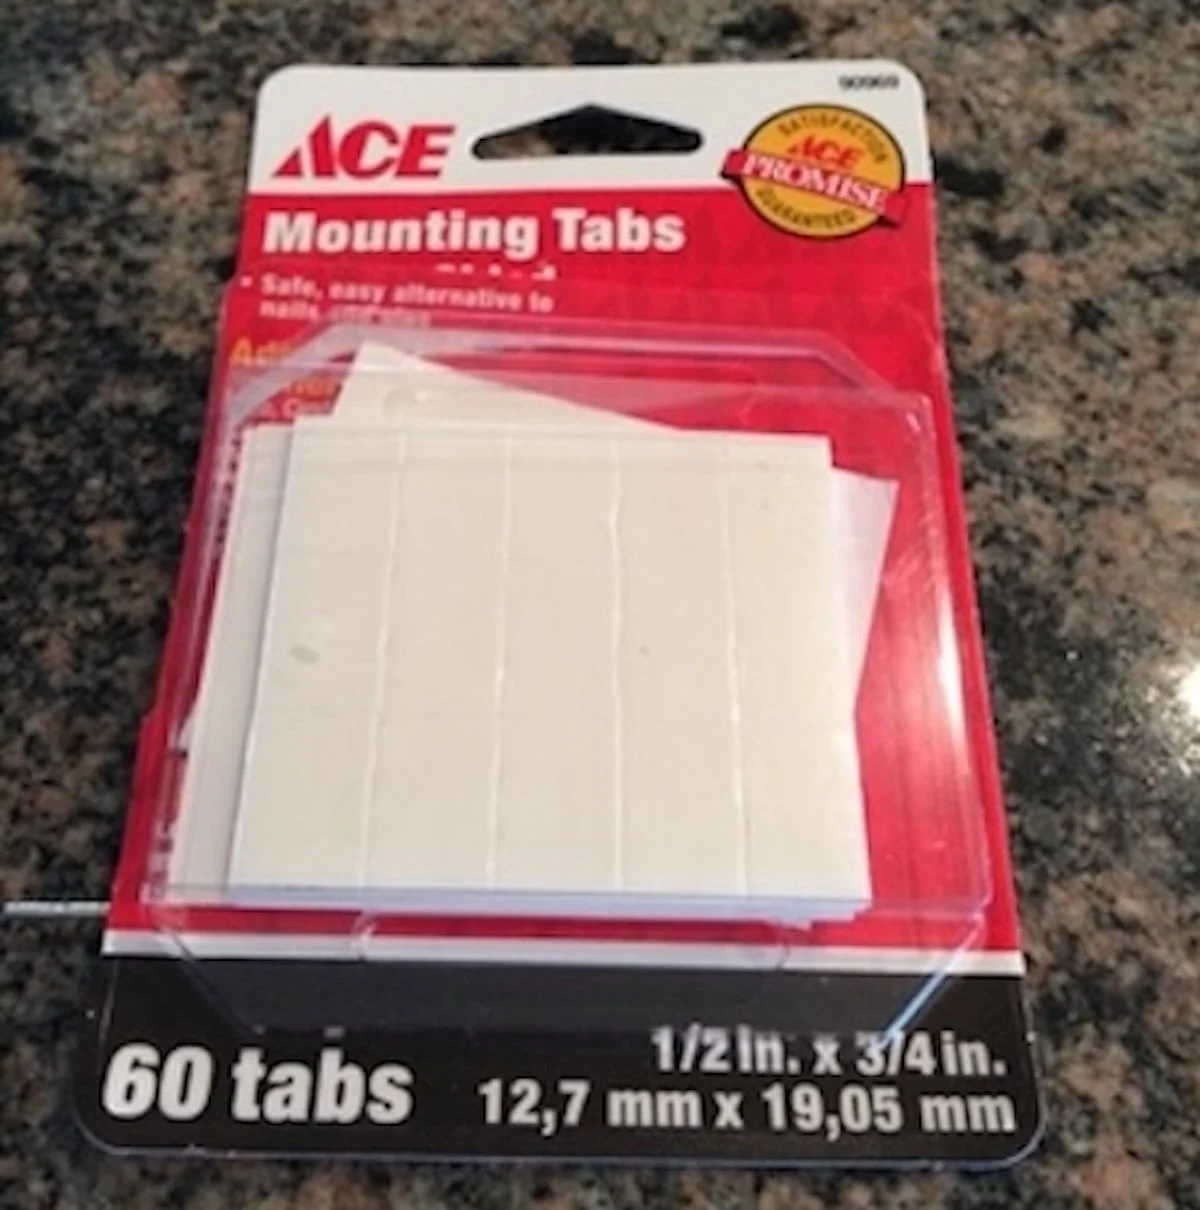
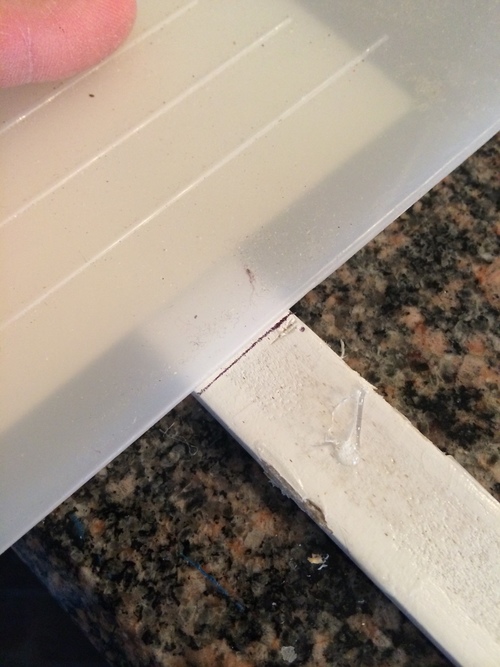
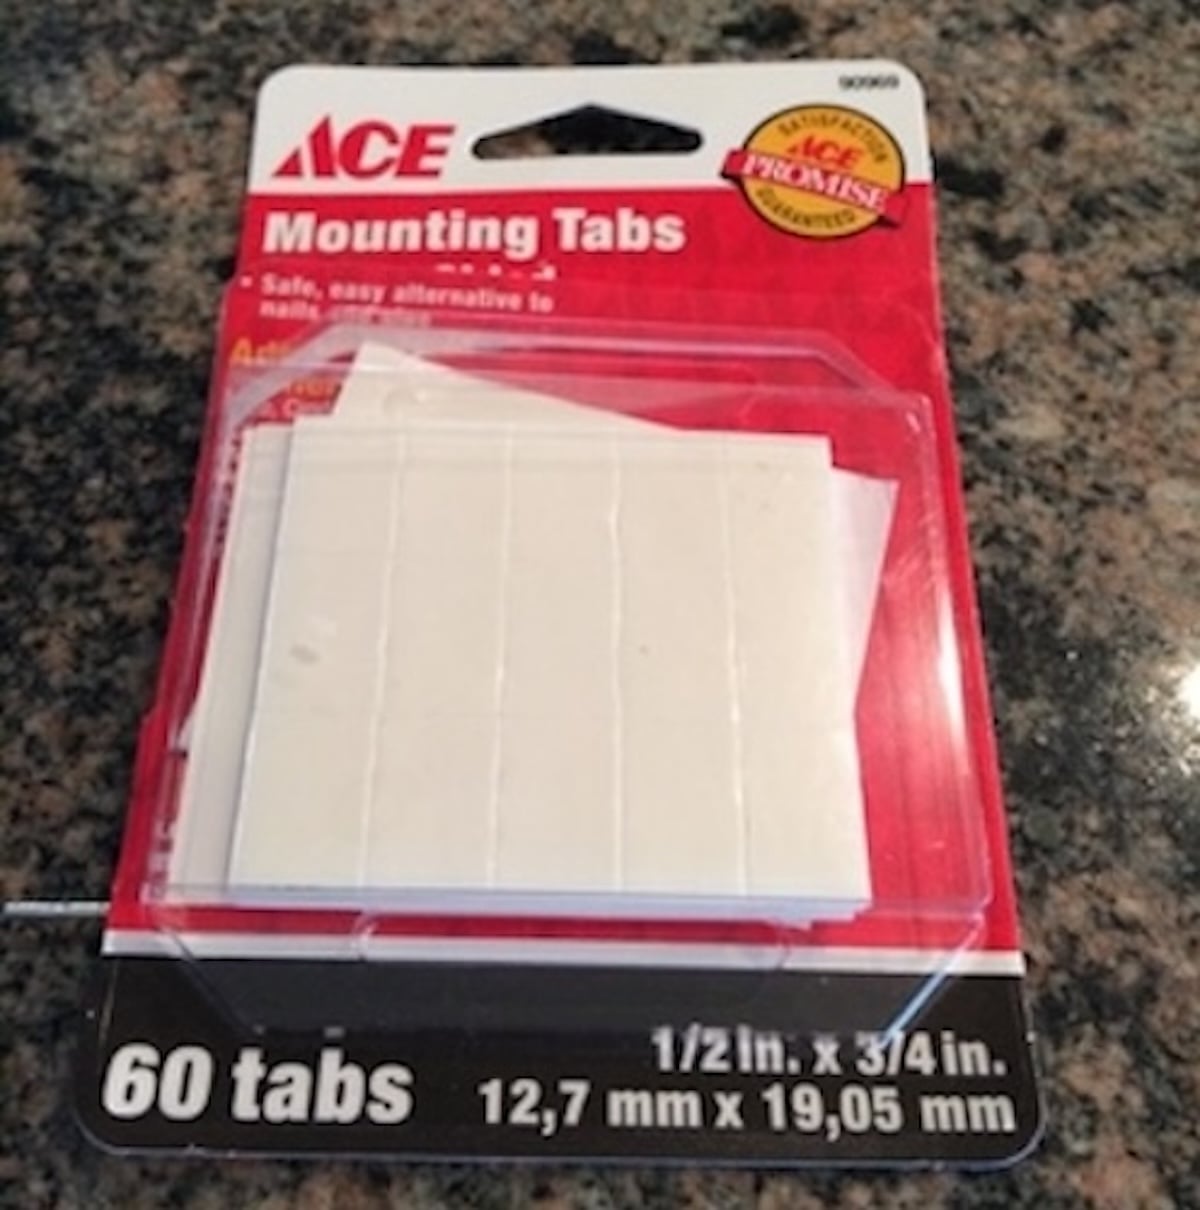
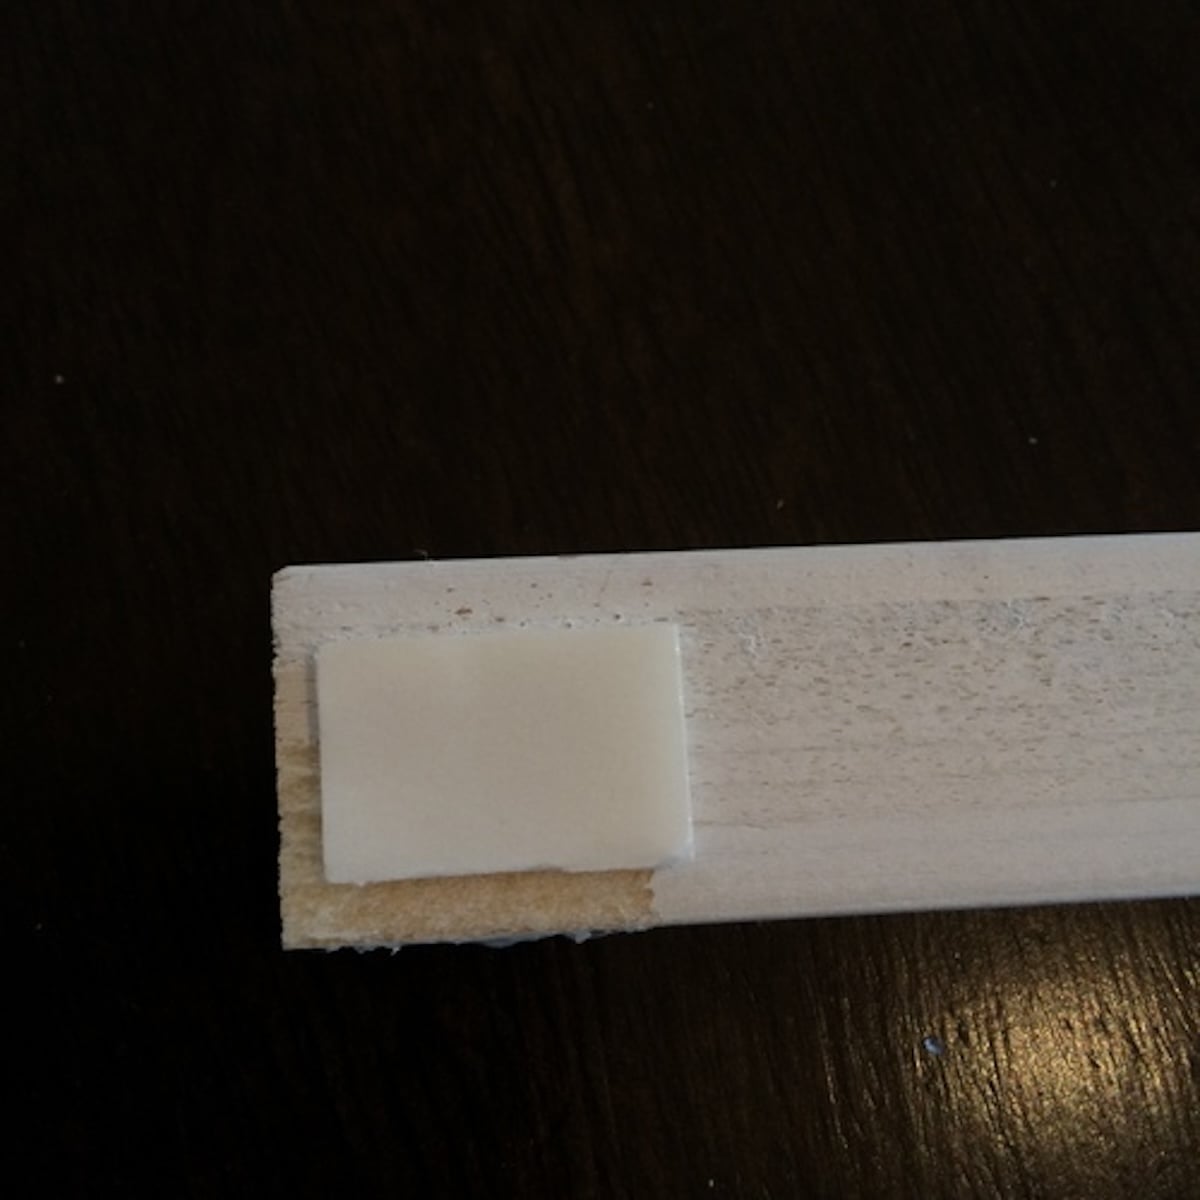
Using a hot glue gun, she bonded the horizontal stiles to the vertical ones. Once the grid structure was cured, she used heavy-duty double-sided mounting tape to secure the grids directly to the glass. This method ensures that the grids are easily removable for cleaning or future aesthetic changes.

Supporting Data: Why DIY Wins
For many homeowners, the cost of replacing windows to include factory-installed grids can run into the thousands of dollars. By choosing a DIY approach, Jill demonstrated that:
- Material Efficiency: Using screen moulding is significantly cheaper than custom-ordering wood or vinyl inserts from a window manufacturer.
- Time Management: The project can be completed in a weekend. By batch-cutting the horizontal pieces (48 in total for her project), she streamlined the workflow.
- Accessibility: The project requires only basic tools—a saw for cutting the trim, a tape measure, spray paint, and a glue gun.
Important Considerations:
- Light Transmission: Adding grids does slightly reduce the amount of natural light entering the room. Homeowners should weigh the aesthetic gain against their preference for brightness.
- Structural Integrity: This method is entirely cosmetic and does not affect the actual seals or the structural integrity of the window. It is a "non-permanent" modification.
Expert Perspectives and Professional Commentary
Design experts often emphasize that window treatments are the "jewelry" of a room. Architectural designers note that when windows lack definition, a room can lose its sense of scale. By adding a grid, the window becomes a focal point that frames the view rather than just allowing it to pass through.
While the DIY approach is excellent for budget-conscious homeowners, it is important to distinguish between "faux" grids and professional retrofitting. If a homeowner desires the energy-efficiency and ease of cleaning provided by internal muntins (located between the glass panes), they should contact a window manufacturer to discuss retrofitting options. However, for those seeking the classic, high-end look of traditional divided-light windows without the exorbitant cost, the external moulding method remains the gold standard of DIY home improvements.
Implications: A New Standard for Home Updates
The success of this project carries several implications for the future of home improvement:
- Democratization of Design: The availability of inexpensive materials like screen moulding allows homeowners to achieve custom architectural looks without the need for specialized contracting services.
- Sustainability through Upcycling: Instead of replacing windows—which generates significant waste and high energy costs—retrofitting existing windows extends their lifespan.
- The Rise of "Micro-Renovations": The popularity of this project underscores a trend toward smaller, high-impact updates. By focusing on paint, trim, and light fixtures, homeowners can significantly alter the "vibe" of a room without committing to a full-scale renovation.
Expanding the Toolkit
Jill’s success with window mullions has sparked interest in similar low-cost, high-reward DIY projects. If you are looking to continue your home improvement journey, consider these related initiatives:
- Faux Leaded Glass: Using specialized film or lead tape to create a diamond pattern can add an antique, artisanal feel to plain glass.
- Faux Transoms: Adding trim above a doorway to mimic a transom window can elevate the height of a room and add a sense of historical character.
- Comprehensive Window Trim: Beyond the grids, upgrading the window casing (the frame surrounding the glass) can make windows look larger, more expensive, and more integrated into the room’s architecture.
Final Thoughts
The transformation of The Rozy Home’s dining room serves as a testament to the power of creativity and patience. What began as a frustration with "boring" windows evolved into a cohesive design element that tied the house together. For any homeowner looking to add character to their space, the lesson is clear: sometimes, the most effective improvements aren’t the most expensive ones, but the ones that require the most vision.
Whether you are a novice DIYer or an experienced renovator, the custom mullion grid project offers a perfect entry point into high-impact home styling. With a little bit of trim, some paint, and careful measurement, your windows can become the architectural highlight of your home.

Remember to save your project plans and share your results—documenting your process is the best way to inspire others in the community.