
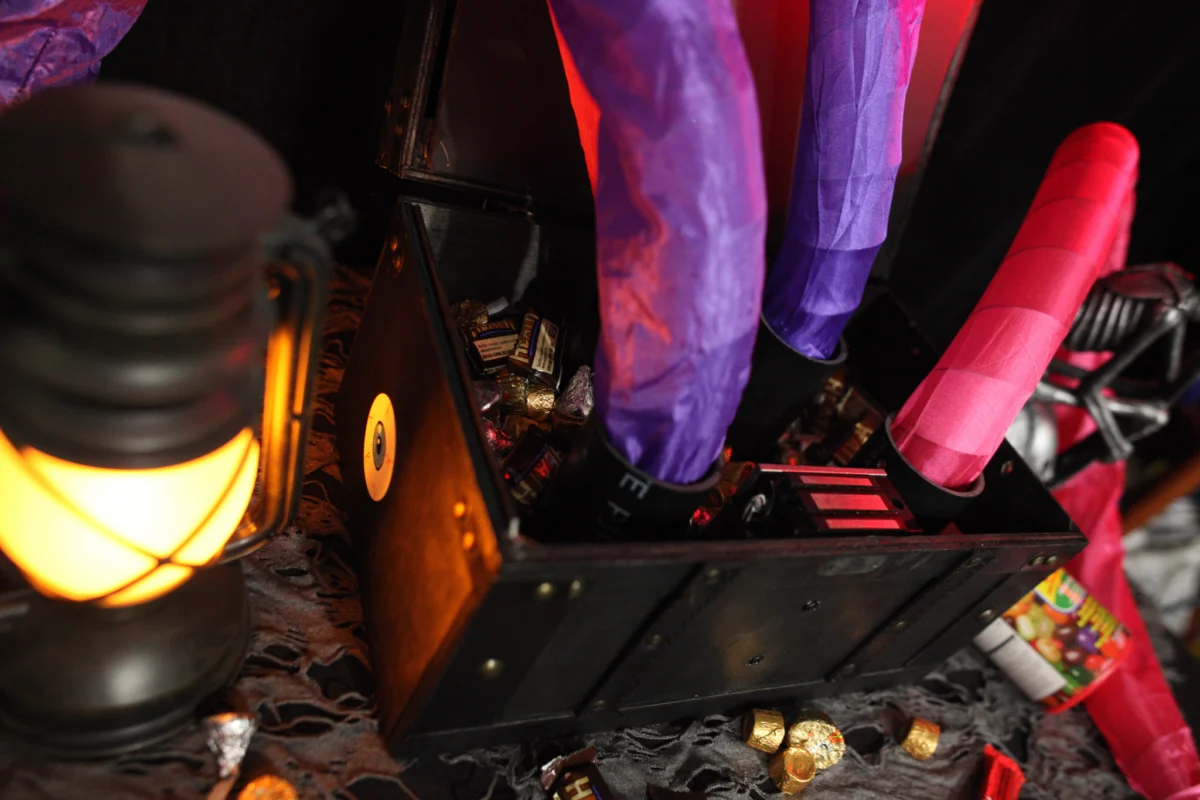
As the crisp autumn air settles and the shadows lengthen, the annual tradition of Halloween invites a unique blend of creativity and mischief. For makers, this season is the perfect excuse to bridge the gap between craftsmanship and theatrical chaos. Enter the "Scare Box"—a sophisticated, electromagnetically controlled prop designed to deliver a high-octane jump scare to unsuspecting friends, family, or trick-or-treaters. By combining basic electronics with mechanical ingenuity, this project transforms a simple wooden container into a spring-loaded jack-in-the-box that is sure to leave a lasting impression.

The Mechanics of Mayhem: Main Facts
The project relies on a magnetic lock system—commonly used in professional security door installations—to keep the lid firmly sealed until a specific trigger occurs. By utilizing a reed switch, the builder can create a "secret" unlock mechanism that responds to a simple magnet. When the magnet is placed near the hidden reed switch, the electromagnetic circuit breaks, releasing the lid and allowing four high-tension spring snakes to eject simultaneously.
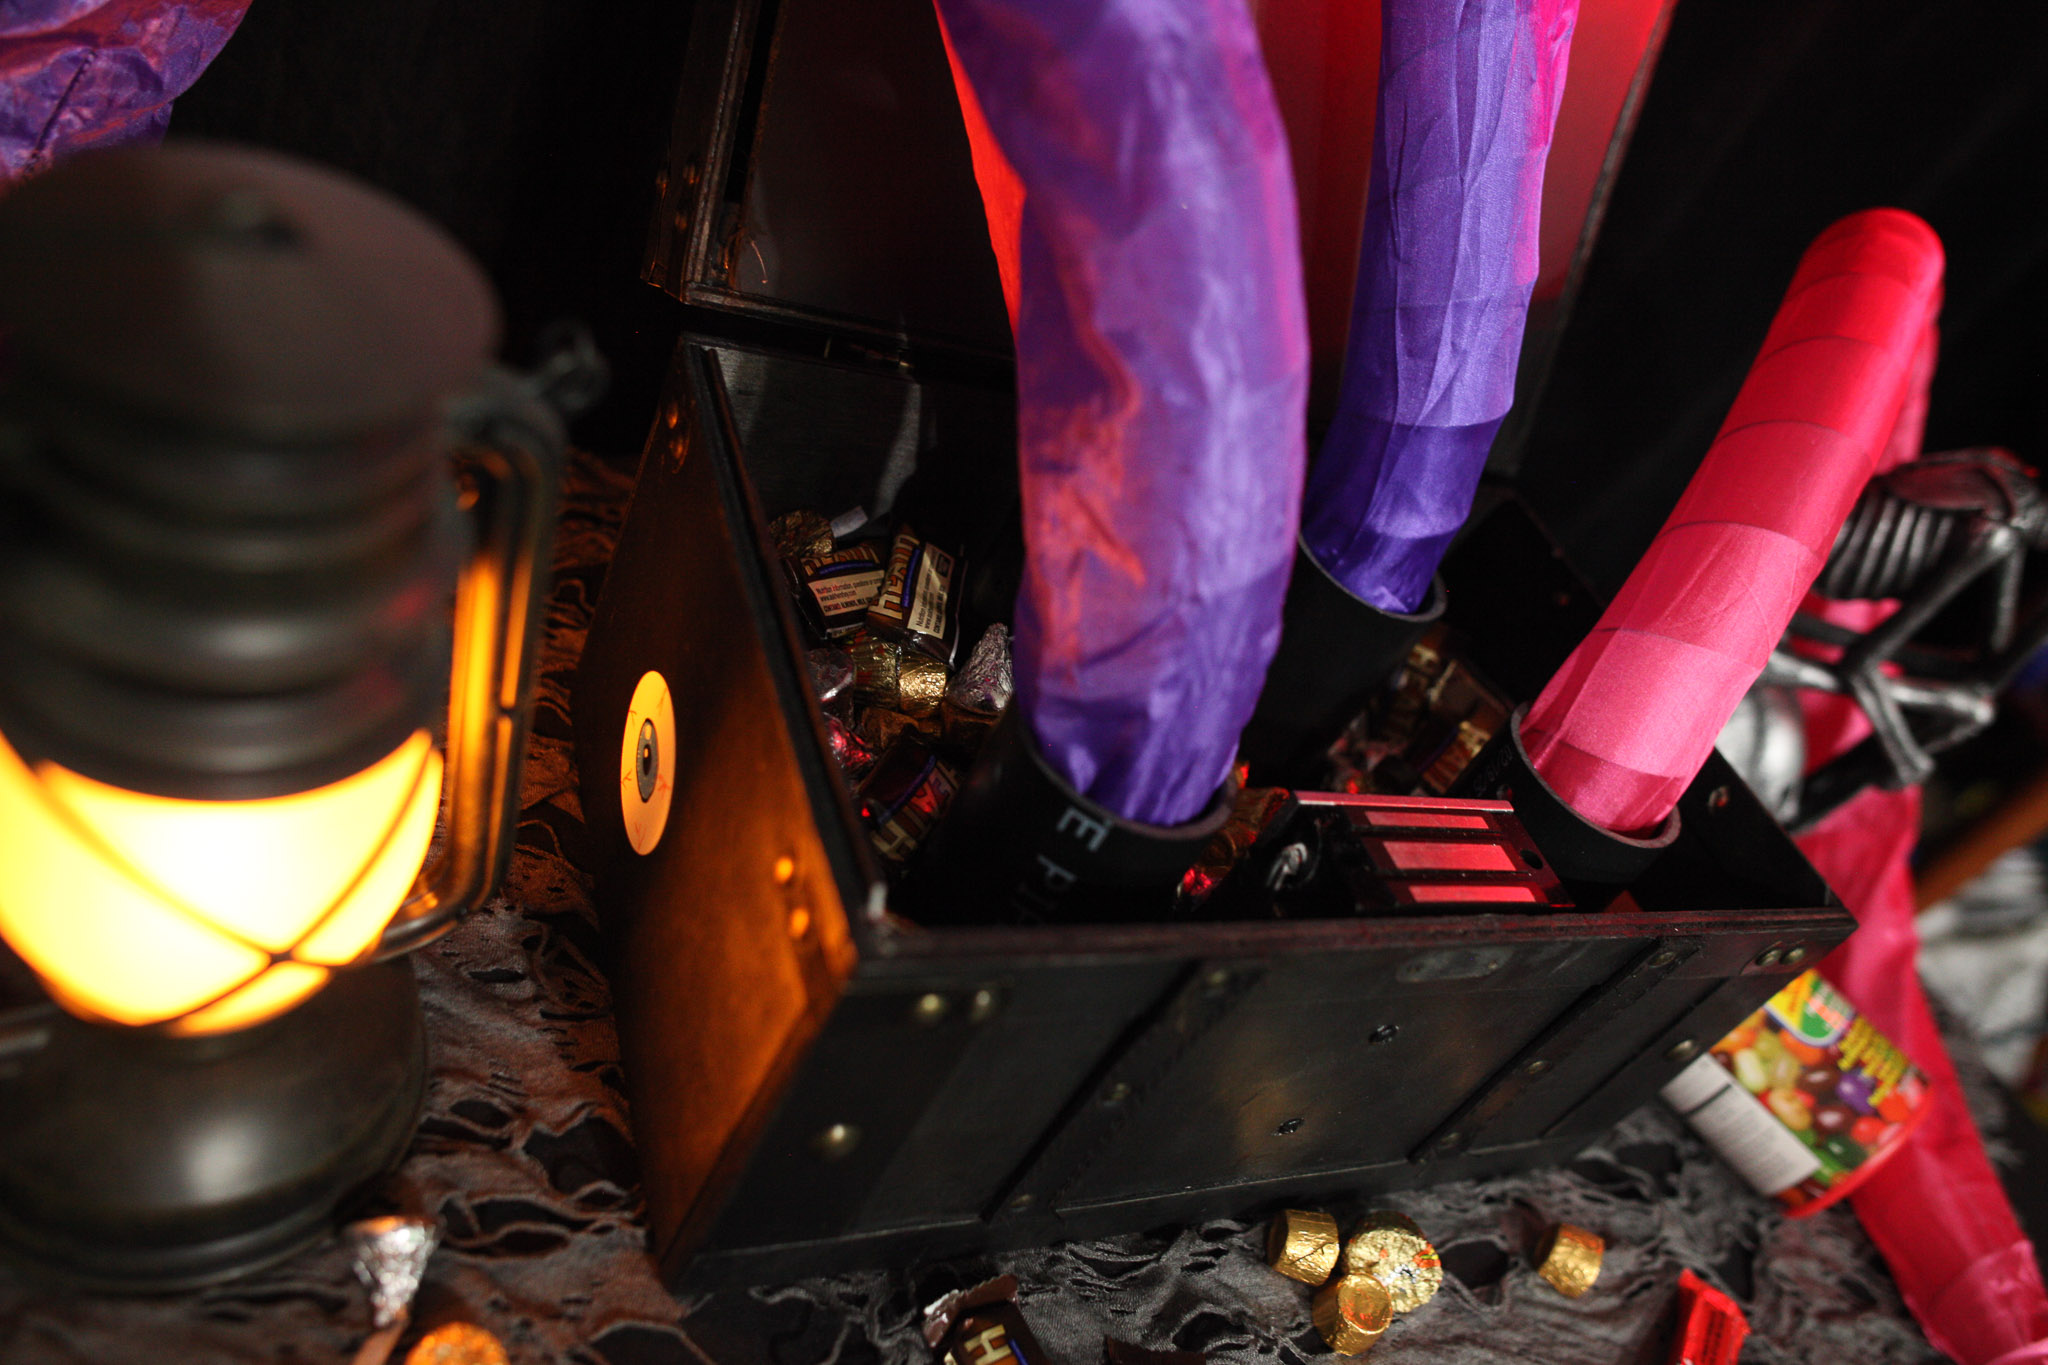
The build requires a methodical approach, balancing the physical reinforcement of the box against the delicate, concealed wiring of the electronic trigger. It is not merely a craft project; it is an exercise in electromagnetism and structural integrity.
A Chronological Guide to the Build
1. Preparation and Structural Reinforcement
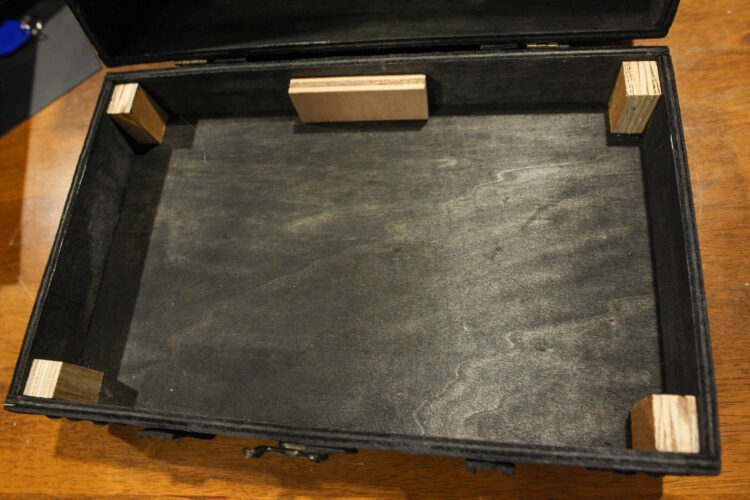
The first phase of the build focuses on the lid, which serves as the primary interface for the trap. If the lid has depth, it must be reinforced to withstand the pressure of the compressed springs. Using black foamcore board cut to the internal dimensions of the lid, the builder creates a mounting surface. Wooden square dowels are then cut to length and hot-glued into the corners of the lid, providing a sturdy skeleton for the foamcore. This structural preparation ensures that the box doesn’t buckle under the tension of the springs.
2. The Electromagnetic Lock
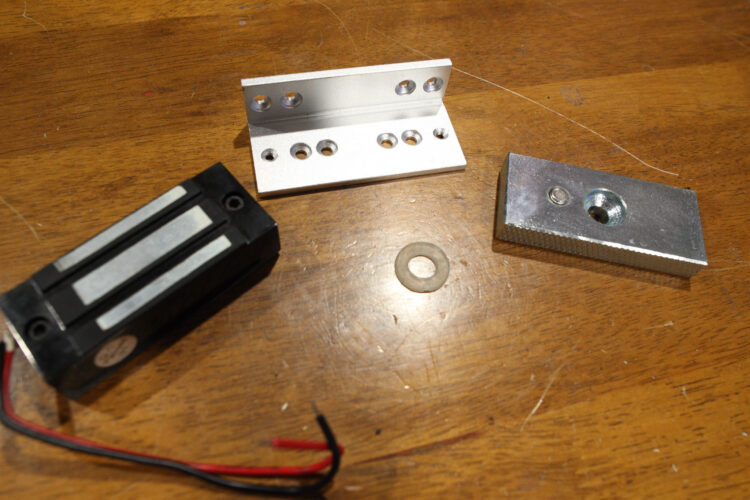
The heart of the mechanism is the magnetic lock. This assembly typically consists of a strike plate, a mounting bracket, and a base. To ensure stability, the builder must mount the magnetic base to a 2×4 block, which is then secured to the interior of the box. This provides a robust anchor point that won’t pull away when the lid is under pressure.
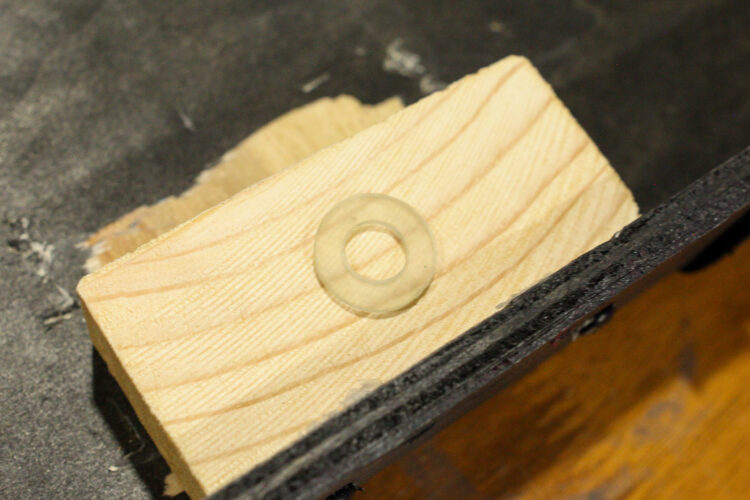
Critical Pro-Tip: The inclusion of a clear rubber washer between the strike plate and the lid is non-negotiable. This component allows for the slight misalignment that inevitably occurs during closing, ensuring the magnet seats perfectly against the base for a secure, fail-safe lock.
3. Precision Alignment
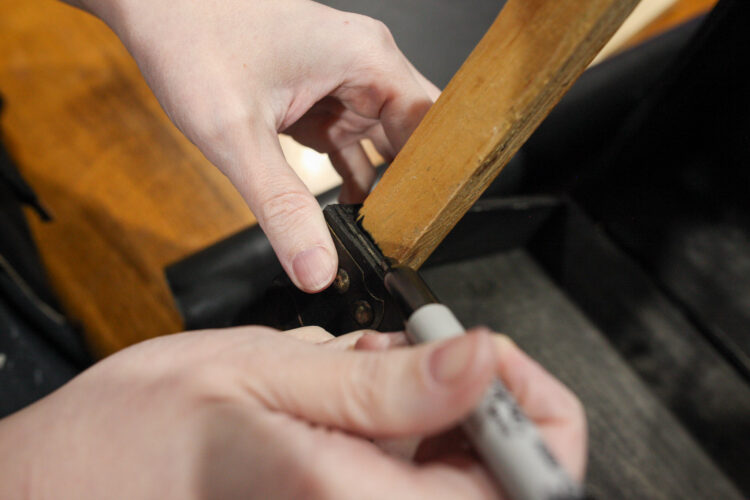
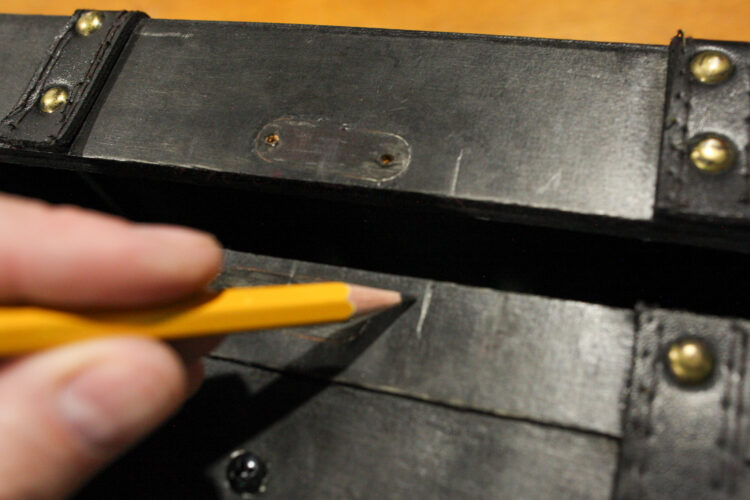
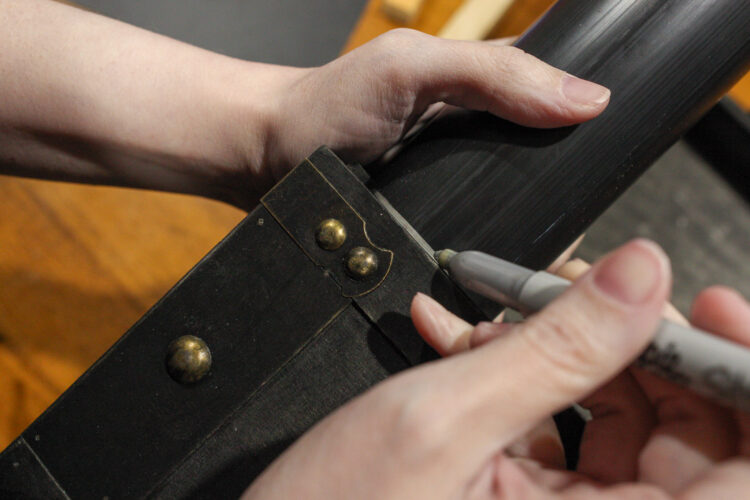
Once the base is installed, the strike plate must be aligned on the lid. This requires meticulous marking and measuring. After transferring the marks from the box to the lid, the strike plate is mounted. The goal is to ensure that the box remains tightly sealed until the reed switch is activated. The foamcore is then modified to sit flush around the strike plate, creating a clean, professional aesthetic that hides the hardware from view.
4. The "Snake" Chamber
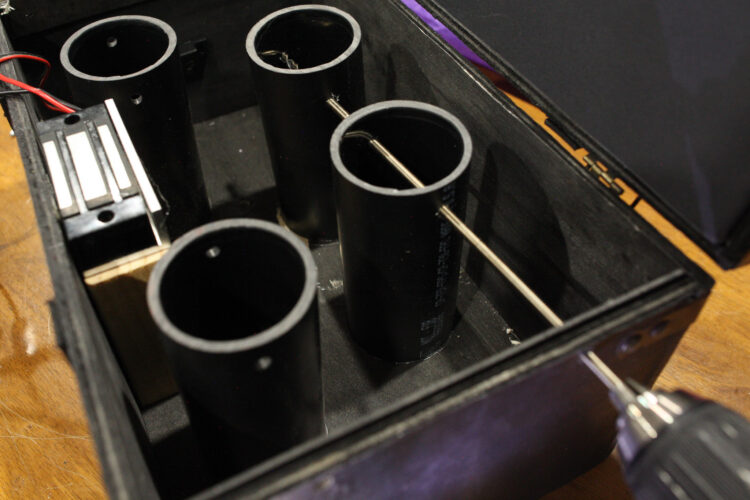
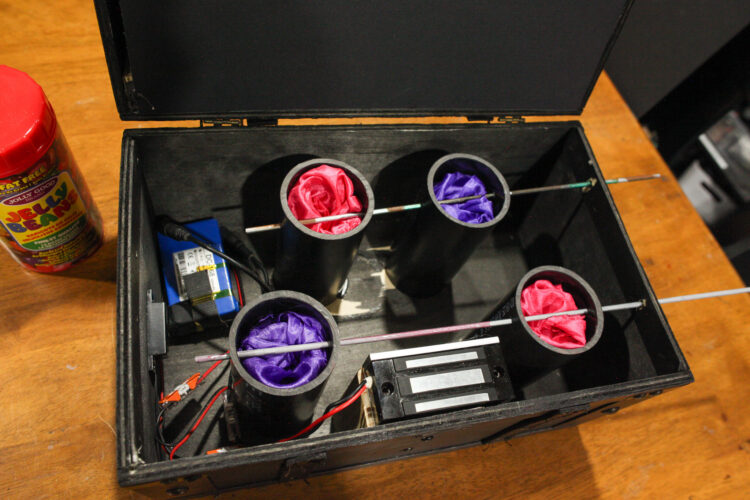
With the lock secured, the focus shifts to the ejector system. ABS piping is used to create four chambers for the spring-loaded snakes. These pipes are cut to be flush with the box edge and glued in a staggered configuration. This layout is strategic: it ensures that the snakes don’t interfere with each other during the rapid deployment phase. Once the tubes are glued, a 3/16" drill bit is used to create a channel through the side of the box and the tubes. This channel allows for the insertion of 1/8" metal rods, which act as "safety pins" to hold the springs in the compressed position until the trap is ready to be set.
5. Wiring the Trigger
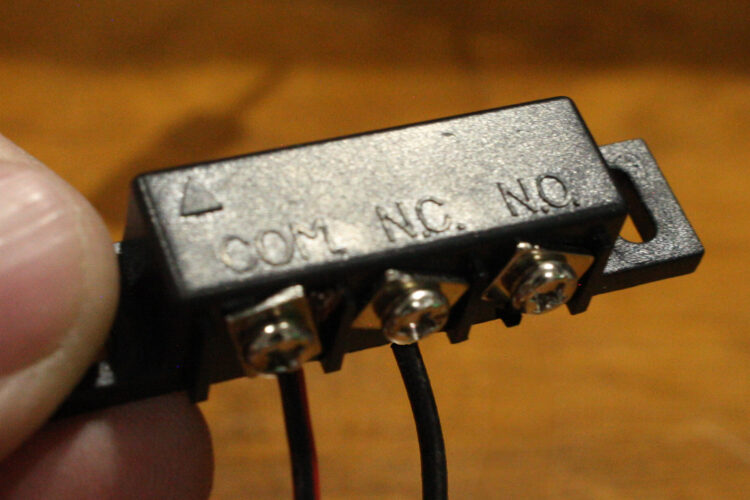
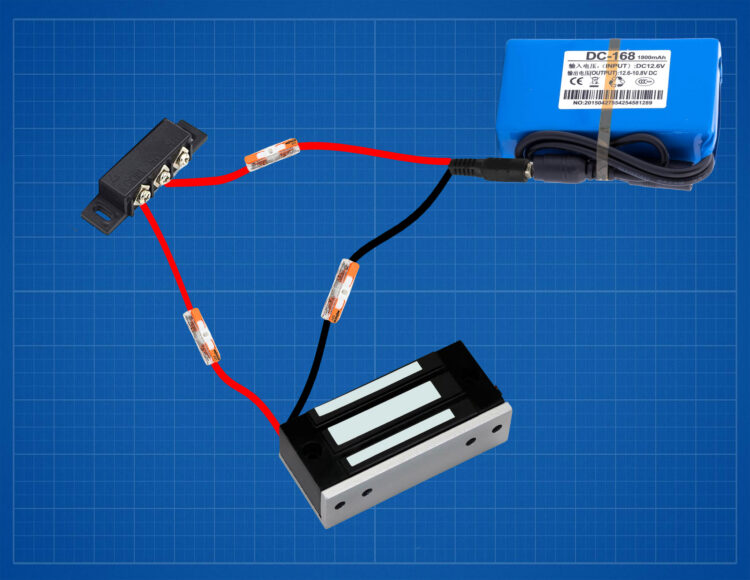
The electronics are deceptively simple but require precision. A reed switch—a magnetically operated electrical switch—is installed on the interior wall. The system uses a "Normally Closed" (NC) configuration, meaning the switch provides constant power to the magnetic lock. When the external magnet approaches the reed switch, the circuit opens, the power is cut, and the lock disengages. Single-inline Wago connectors (Lever Nuts) are recommended for their ease of use and reliability. Everything, including the 12V power source, is neatly tucked away at the bottom of the box.
6. Loading the Trap
The final assembly involves stuffing the spring-loaded snakes into the ABS tubes. This is a delicate process of inserting the snakes, compressing them, and sliding the metal rods through the box to lock them into place. Once the lid is closed and the lock is engaged, the rods are removed, leaving the trap primed and ready.
Supporting Data and Technical Specifications
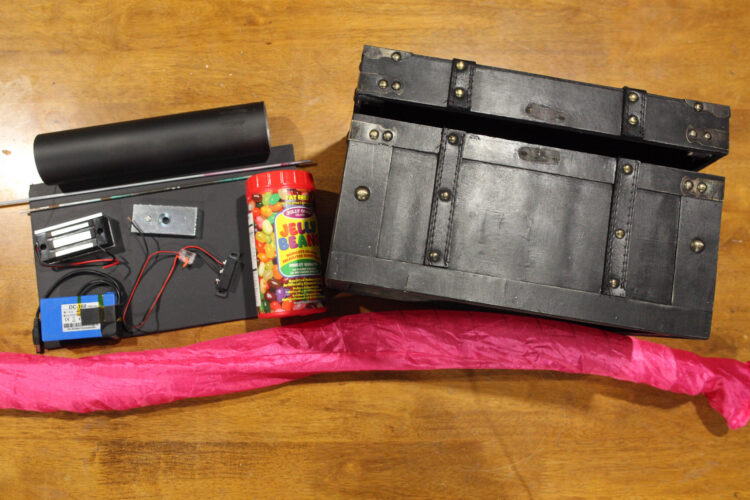
- Power Requirements: A 12V DC power source is recommended. For a portable unit, a 12V battery pack is sufficient; for a permanent porch installation, a standard 12V AC/DC wall adapter is preferred.
- Materials:
- Black foamcore board for aesthetic blending.
- Square wooden dowels (structural support).
- Magnetic door lock (12V).
- Reed switch (NC/Normally Closed).
- ABS pipe (for spring chambers).
- 1/8" metal rods (safety pins).
- Tolerance: The "wiggle room" provided by the rubber washer on the strike plate should ideally be between 1mm and 2mm to allow for the magnetic pull to engage effectively.
Professional Perspective on Safety and Implementation
The "Scare Box" is an excellent example of applied engineering in a DIY context. Experts in prop building note that the use of a magnetic lock is superior to mechanical latches for this specific application because it provides a silent, instant release. There is no physical "click" or movement that would tip off a wary victim.
When operating the box, safety should remain a priority. The spring-loaded snakes can be surprisingly forceful. It is highly recommended to secure the box to a table or porch surface using screws or high-strength adhesive tape to prevent the entire unit from jumping or tipping when the trap is triggered.
Implications for Future Projects
The modularity of this design opens the door for endless variations. By swapping the reed switch for other triggers—such as an Arduino-controlled ultrasonic sensor, an infrared beam-break, or a simple remote-controlled RF relay—the box can be evolved from a manual prank into a sophisticated, automated interactive installation.

Furthermore, the "False Bottom" concept suggested by the developers allows for the box to be used as a legitimate gift container. By hiding the battery and wiring beneath a false floor, the box can hold actual treats or gifts, creating a "treasure chest" experience where the user must find the "key" (the magnet) to unlock their reward, only to be met with a jump scare before they can retrieve the prize.
Whether you are a seasoned engineer or a hobbyist looking to add a touch of high-tech flair to your Halloween display, this project serves as a perfect masterclass in hidden mechanics and interactive design. For those who complete the build, the documentation of their results is encouraged, as the community at testsubjects.com continues to refine and expand upon these designs, proving that when it comes to engineering, the best results are often the ones that catch people off guard.