
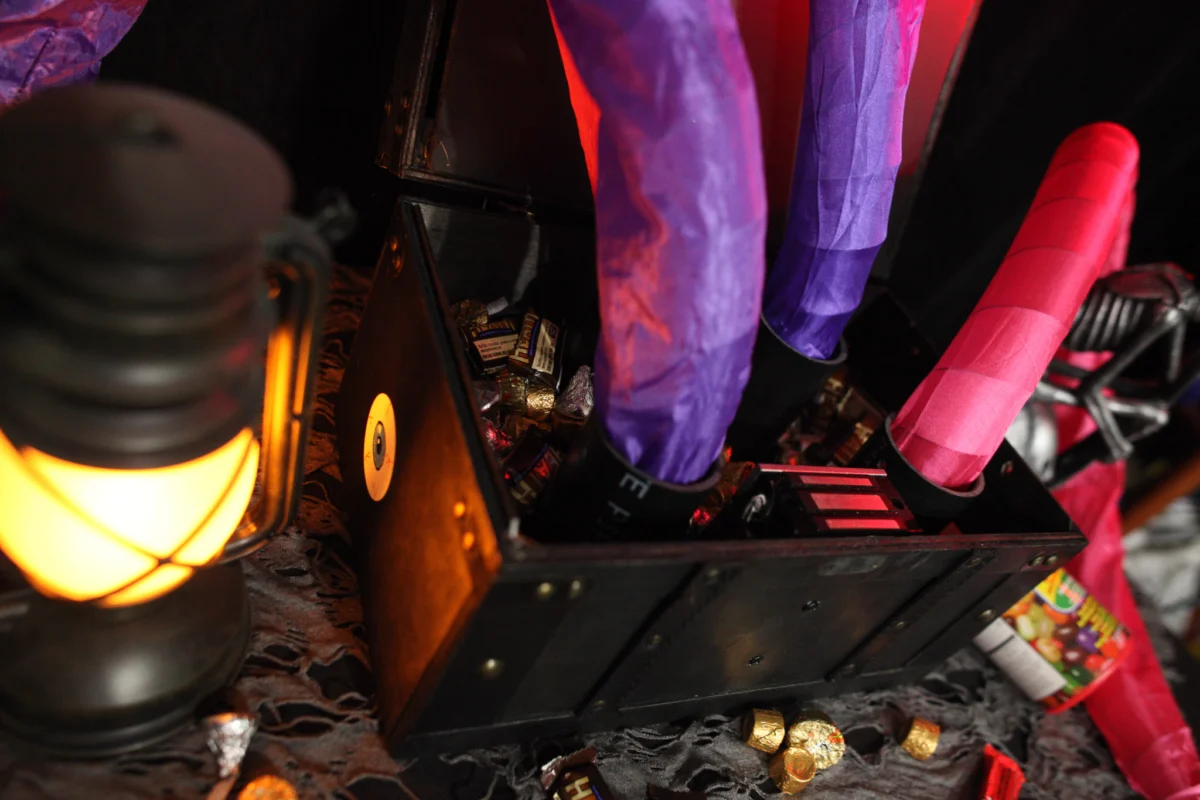
In the world of DIY prop building, few projects capture the imagination quite like the "jump scare." As Halloween approaches, makers are looking for ways to elevate their home displays from static decorations to interactive experiences. The "Trick-or-Treat Scare Box"—a magnetic-lock-actuated mechanical surprise—represents a perfect intersection of electronics, woodworking, and classic practical effects. Originally featured in Make: Volume 98, this project offers a sophisticated way to deliver a jump scare that is as reliable as it is startling.

The Anatomy of the Scare
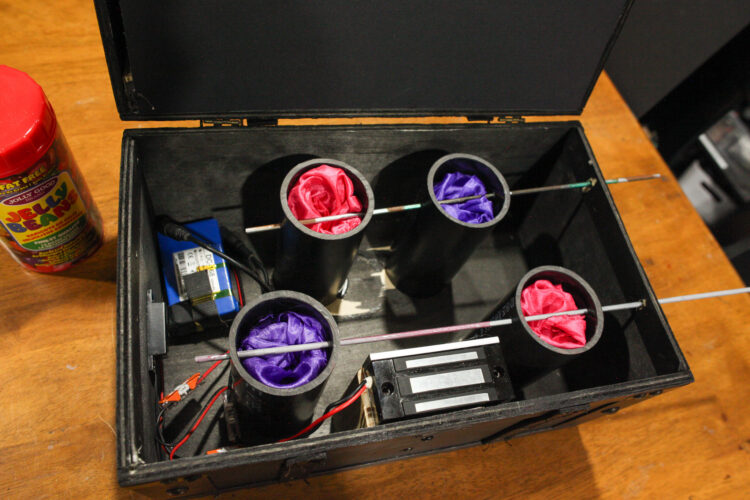
At its core, the project utilizes a 12V electromagnetic lock, commonly found in commercial door-security systems, to hold a box lid firmly shut. When triggered by a hidden magnetic reed switch, the circuit breaks, the lock disengages, and a series of high-tension "spring snakes" eject from the interior.
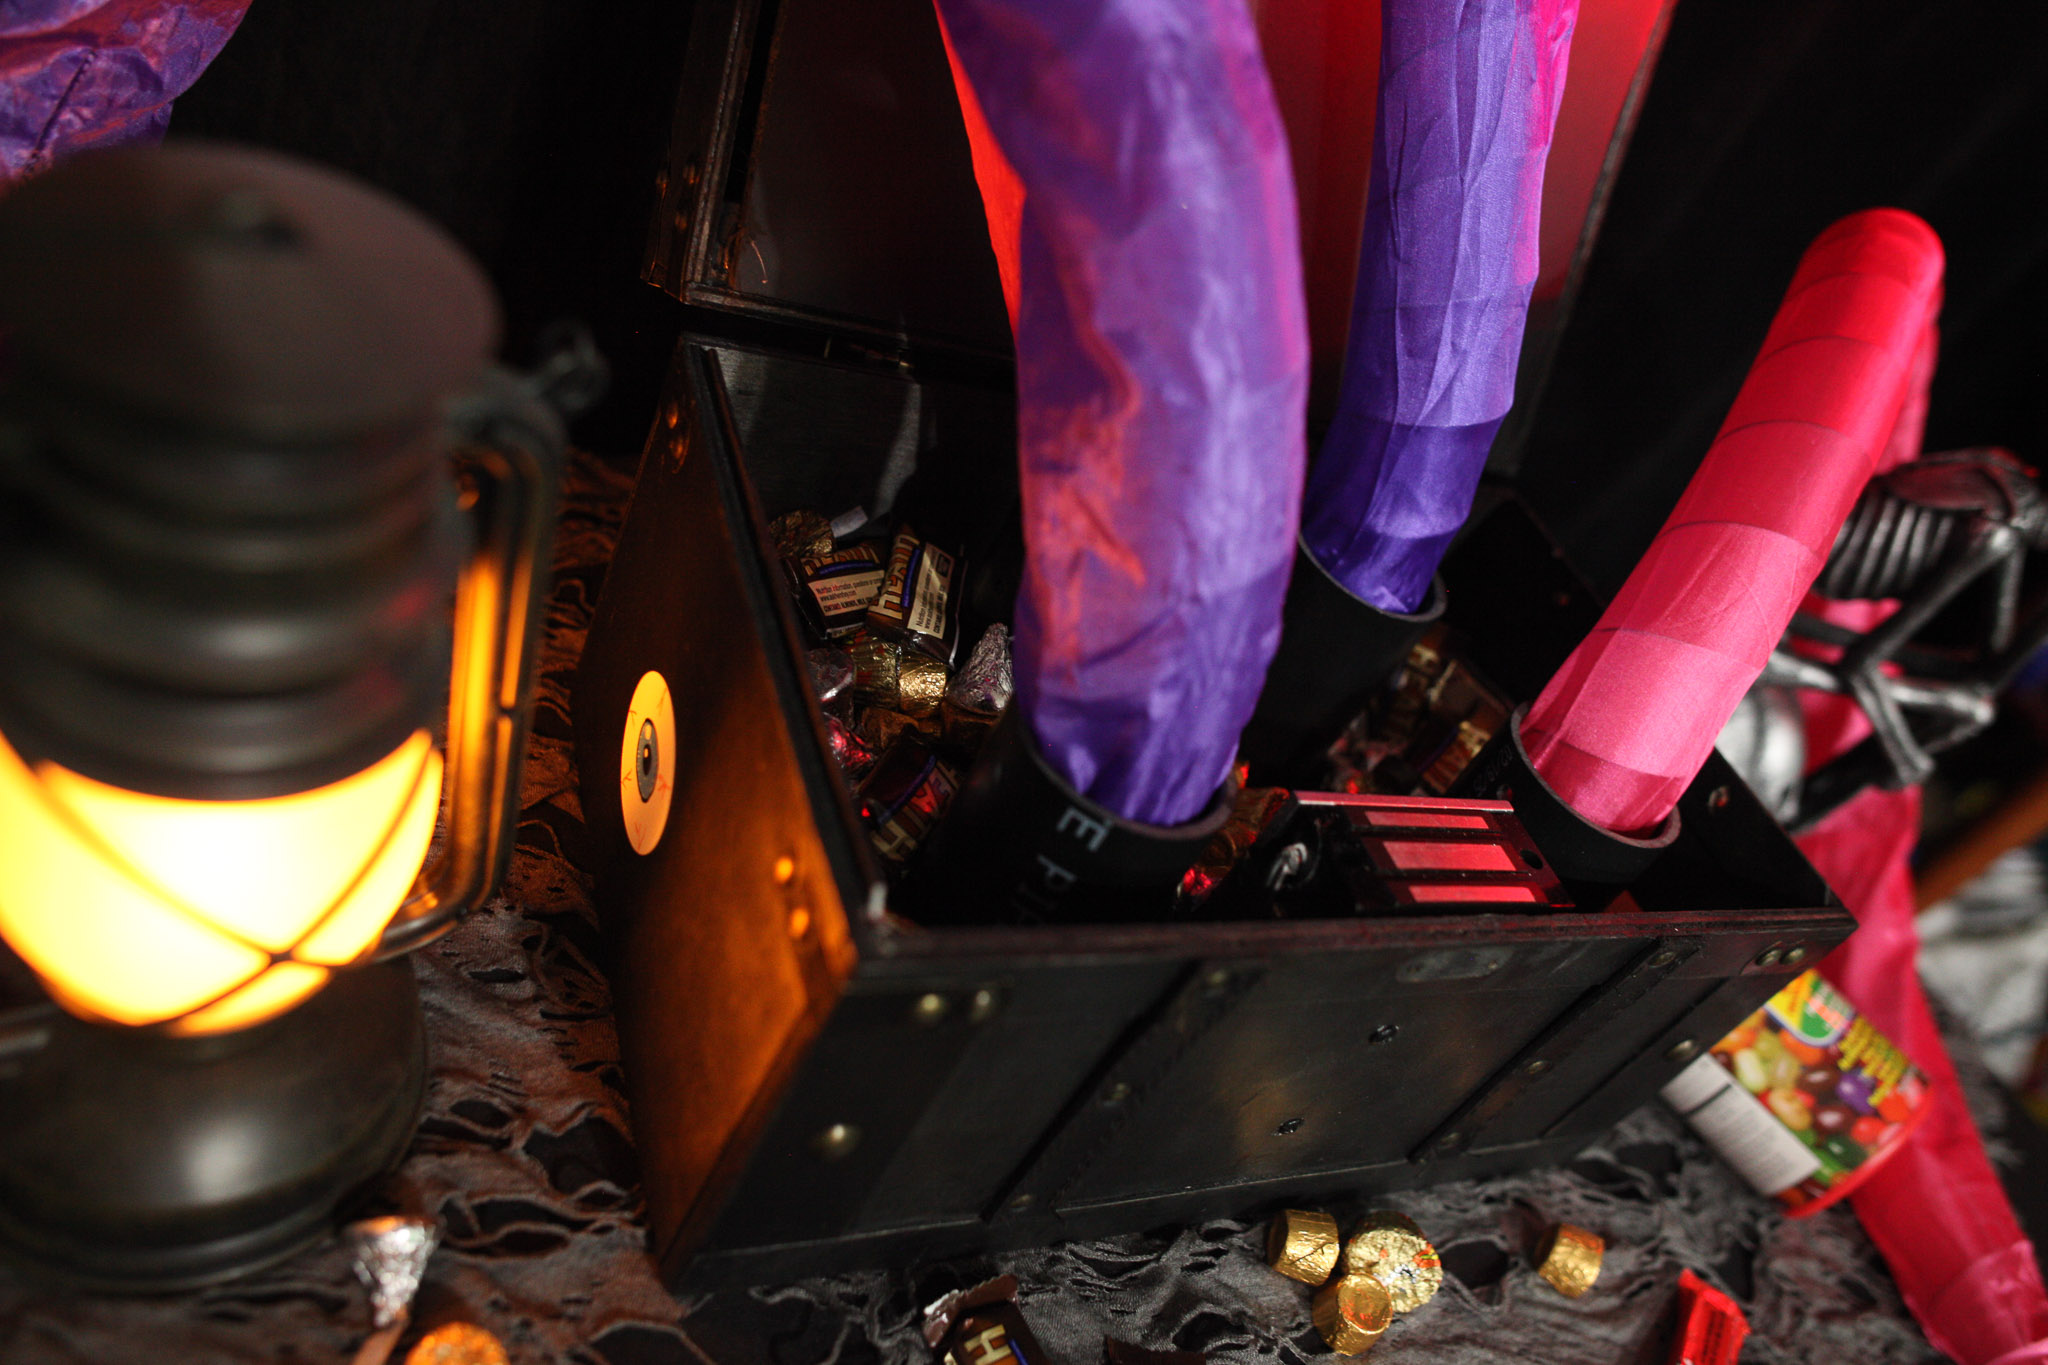
The project is more than just a box; it is an exercise in tension management and mechanical timing. By using ABS tubing to house the spring-loaded snakes and a foamcore internal structure to conceal the electronics, the builder creates a seamless facade that hides the chaos waiting inside.
Chronology of Construction: A Step-by-Step Breakdown
1. Preparing the Foundation
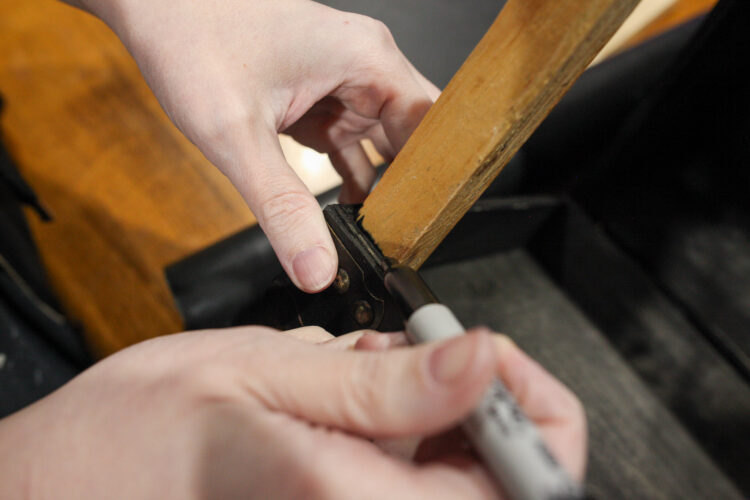
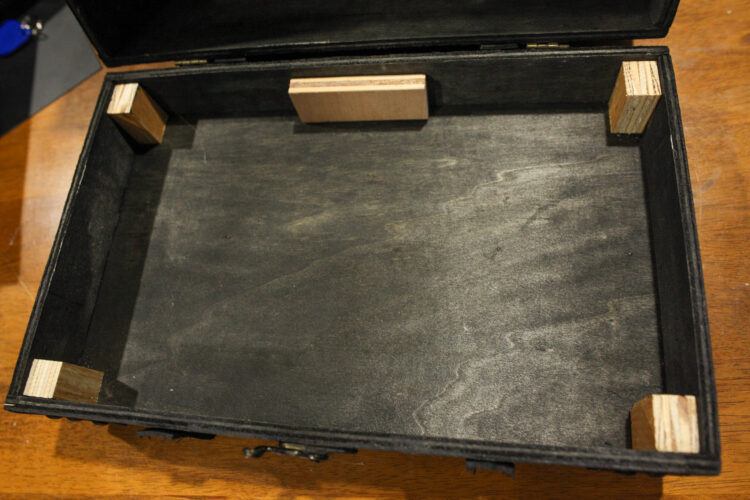
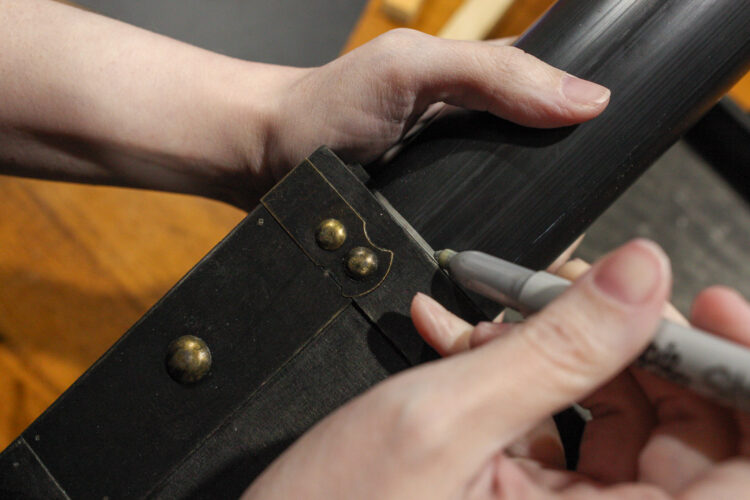
The project begins with the lid. If the lid has inherent depth, the builder must measure the interior dimensions carefully. Using black foamcore, create a flush insert that will serve as the mounting surface for the strike plate. Because foamcore lacks the structural integrity to hold a heavy magnetic lock, wooden square dowels must be cut to the exact depth of the lid (minus 3/8" for the board thickness) and hot-glued into the corners. These dowels provide the "meat" for the screws to bite into, ensuring the lid doesn’t buckle under the pressure of the magnetic seal.
2. The Locking Mechanism
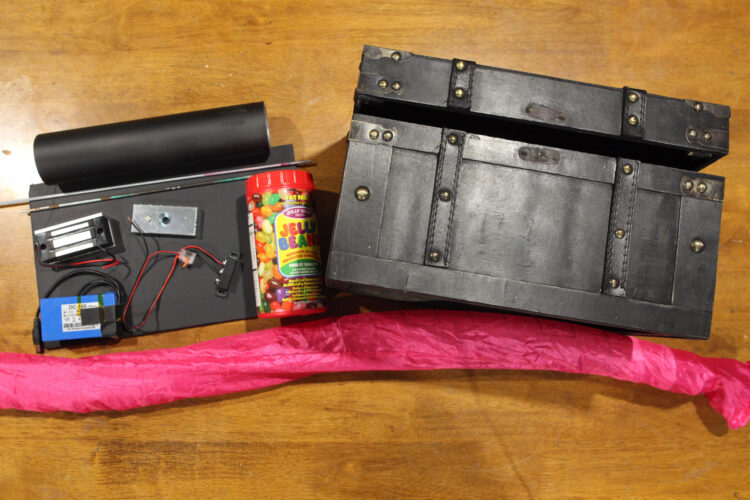
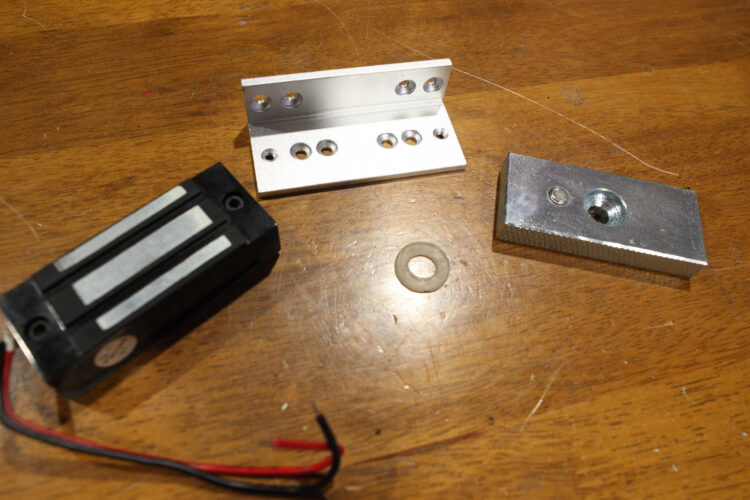
The magnetic lock is the heart of the project. These devices consist of three distinct parts: the strike plate, the mounting bracket, and the magnetic base. The key to a successful build is the mounting of the bracket. A 2×4 block, cut to the precise distance between the box floor and the bracket, acts as a structural riser. This is vital because many decorative wooden boxes have thin walls that cannot support the torque of a maglock. By mounting the base to a substantial wood block, the builder ensures the box remains shut even when the "snakes" are putting pressure on the lid.
3. Precision Alignment and The Rubber Washer
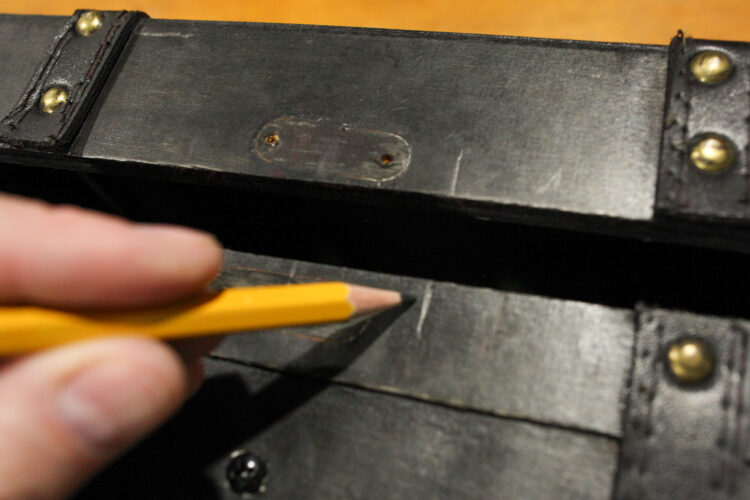
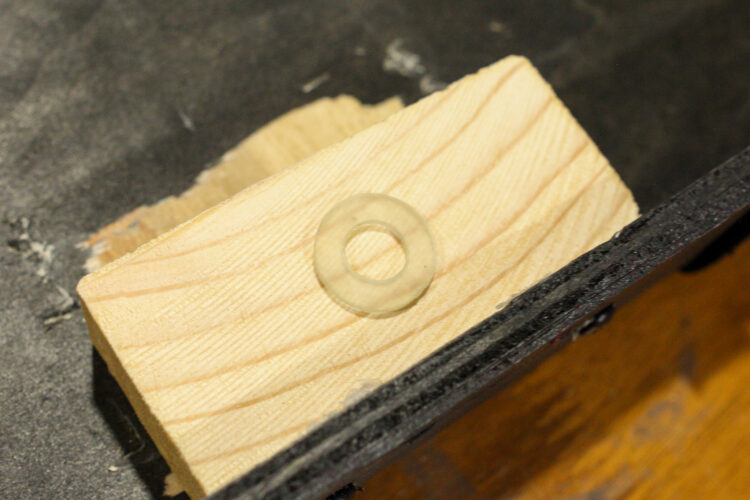
Alignment is where most amateur builders fail. Once the base is mounted, the strike plate must be perfectly centered on the lid. The inclusion of the clear rubber washer provided with the lock is not optional—it is critical. This washer allows the strike plate to "float" slightly, compensating for minor misalignments and ensuring the magnet makes full contact. Without it, the lock may fail to engage or may be too weak to hold the lid against the internal spring tension.
4. The Internal "Snakery"
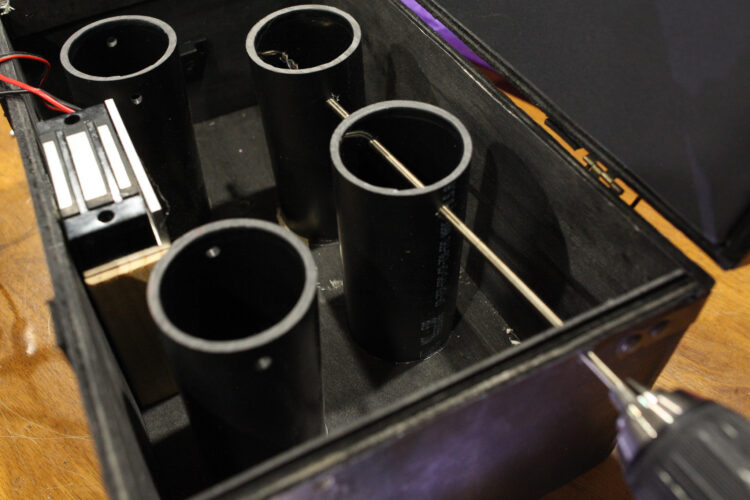
With the lid secure, the builder must prepare the internal ejection system. ABS pipe is the material of choice here due to its rigidity and natural black finish. Four tubes are cut to height and glued to the floor of the box. To load the snakes, the builder drills through the box wall and the ABS pipe, creating a channel for a 1/8" metal rod. This rod acts as a temporary pin, holding the spring-loaded snakes in their compressed position until the final "arm" phase.
5. Wiring the Logic
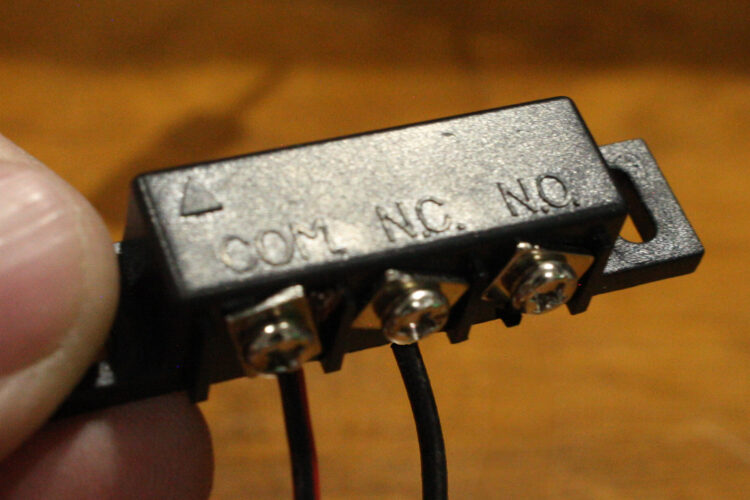
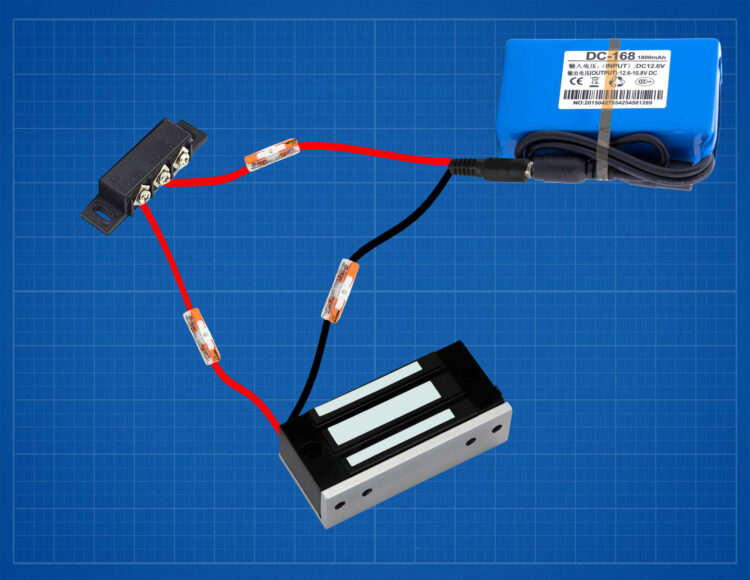
The electrical system relies on a "Normally Closed" (NC) reed switch. In this configuration, the circuit is complete—power flows to the magnet—as long as the magnet on the outside of the box is in proximity to the switch. When the user brings a separate magnet near the hidden switch, the circuit opens, the magnetic lock releases, and the lid pops open. The use of Wago lever nuts simplifies the wiring process, making it accessible for those who are not seasoned electrical engineers.
Supporting Data and Materials
The success of this project relies on specific hardware choices that balance power and safety:
- 12V Power Source: The electromagnetic lock requires a 12V supply. For a portable unit, a 12V battery pack is sufficient, though a 12V wall adapter is recommended for permanent, high-traffic installations.
- The Reed Switch: Builders must ensure the switch is rated for the voltage of the system.
- ABS Tubing: 1.5-inch or 2-inch diameter pipe works best for standard spring snakes.
- Structural Adhesives: While hot glue is sufficient for the ABS and foamcore, the mounting of the maglock base should be done with wood screws to ensure long-term durability.
Official Perspectives: The Value of Interactive Props
According to the editors of Make: Volume 98, the primary value of the Trick-or-Treat Scare Box lies in its modularity. "It’s not just about scaring someone," the editorial team notes. "It’s about the engineering process of creating a hidden interface."
Professional prop makers often emphasize that the best scares are those that require the victim to perform a physical action—like touching a magnet to a specific spot on a box—to trigger the event. This creates a psychological "contract" where the person believes they are in control, making the sudden release of the lid and the spring-loaded contents far more startling.
Implications for Future Makers
The implications of this build extend far beyond Halloween. The fundamental mechanism—a magnetically triggered release—can be repurposed for a variety of "escape room" style puzzles.
- Scavenger Hunts: Instead of a scare, the box can be filled with a prize or a clue, requiring the user to find a key or magnet hidden elsewhere in the room.
- Automated Triggers: By replacing the manual magnet with an RF remote or a proximity sensor tied to an Arduino, makers can trigger the box when someone walks into a room, turning a simple box into an automated sentry.
- Aesthetics: Because the electronics and internal mechanics can be completely hidden, the exterior of the box can be styled as an antique chest, a futuristic containment unit, or a simple holiday gift, allowing it to fit any theme or decor.
Safety and Considerations
While the project is designed for fun, builders should be mindful of the force involved. The spring snakes can travel with significant velocity; the box should be weighted or secured to a surface to prevent it from tipping over during the jump scare. Furthermore, when wiring the 12V system, ensure all connections are insulated to prevent shorts, particularly if the box is intended for use by children.

Closing Thoughts
The Trick-or-Treat Scare Box is a testament to the "Maker" philosophy: taking off-the-shelf security hardware and repurposed plumbing supplies to create something that brings genuine joy—and a little bit of fright—to the community. Whether you are a seasoned engineer or a hobbyist looking for your first electromechanical project, the path from a pile of ABS pipe and foamcore to a functional, startling prop is a rewarding one.
For those who have completed their own version of this build, the community at testsubjects.com serves as a hub for sharing modifications, troubleshooting, and showcasing creative ways to decorate the final product. As the editorial team in Make: Volume 98 suggests, the only limit to this project is the builder’s imagination. Once the box is built, the "trick" is in the mechanics, but the "treat" is in the reaction you get when you finally pull that pin.